
ADDRESSING THE SWAMP OF MYTHS
What’s the difference?
Differences between guitar bridges is one of those topics that keeps conjuring up endless debates among players. What are the best materials? How does a trem affect to the sound? Which bridge has the best sustain? Is a locking trem from the devil…? An abysmal swamp of myths, assertions and opinions, often triggered by tradition or a piece of (dis)information one has heard from a friend or read online.
I’ll be stone cold pragmatic
The perspective I’m offering you is based on my own experience, having made, repaired and played a whole lotta guitars over the last decades. I’m not relying on what I’ve heard from someone or what I’ve read from books. My approach could be described stone cold pragmatic. I’ll go through in this article a few common situations in the hope that reading this piece won’t at least leave you more confused than you were before.
THE BRIDGE OVER TROUBLED WATER
Bridge solutions that work
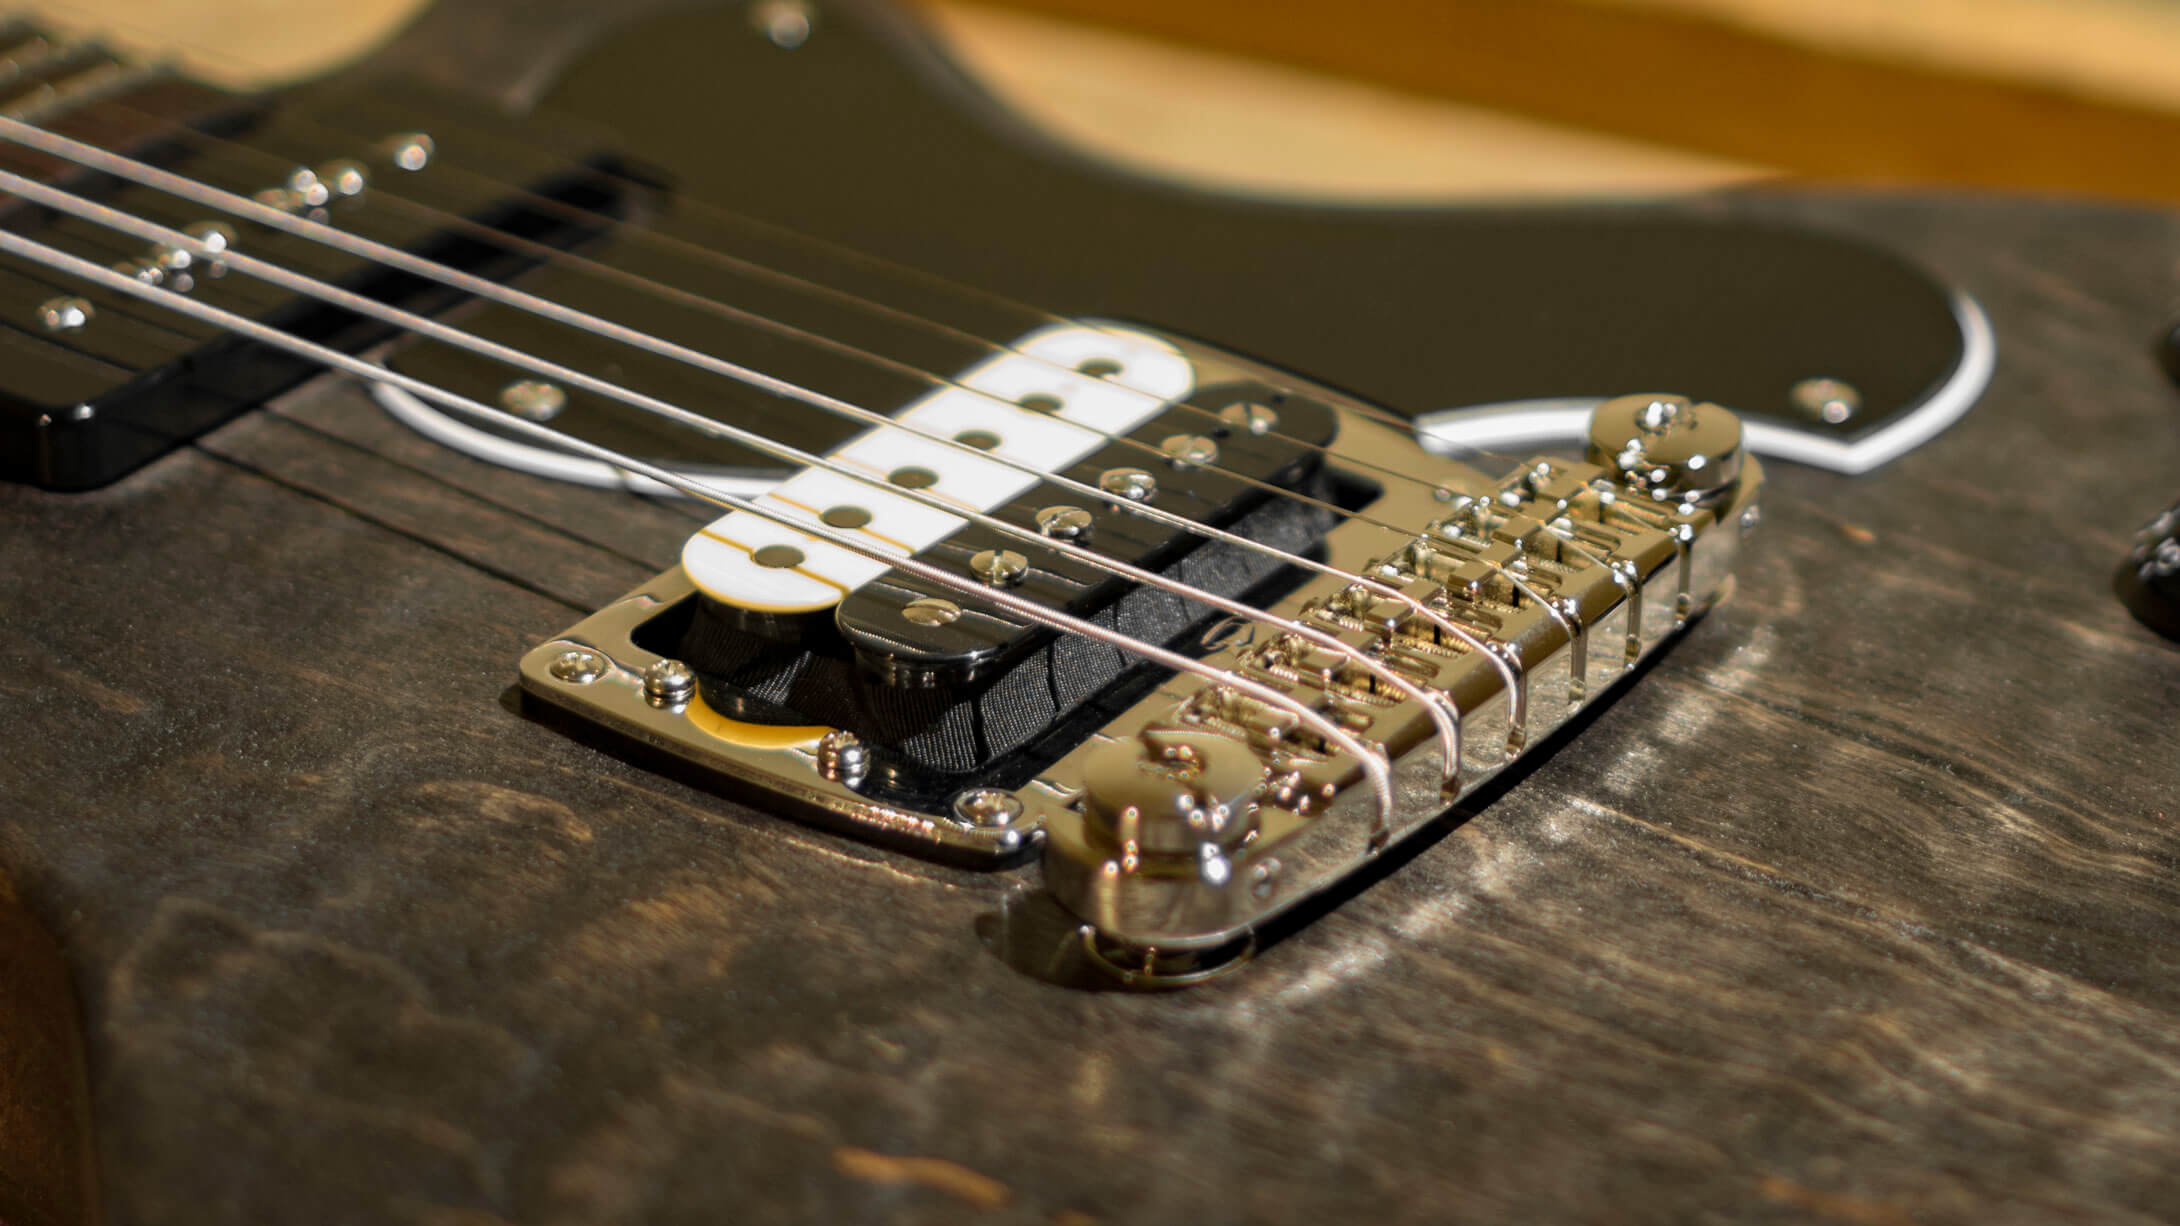
I’ll start from wraparound bridges for one particular reason. This story describes perfectly my approach to guitar design in general. Practical solutions. Nuts and bolts. Things that work.
I was reluctant for a long time to offer wraparound bridges in any of my guitars. There were a couple of reasons why so. The traditional wraparound models are mounted with studs that need to have a pretty loose tolerance so there’s any room to balance the height of the low and high strings. This results usually that after adjustments the bridge sits leaning forward, in an angled position in the loose stud slots. Not cool.
What if the wood gives in?
I’ve seen guitars where the bushings of the wraparound bridge have given in and the whole unit is leaning forward. Or, the bushings have started to crawl up from their holes. This can happen if the fit of the bushings is too loose – or if the body wood is soft (like mahogany or spanish cedar) and the wood compresses over time, making the holes oval shaped. There is a constant force of about 60 kilograms pulling the wraparound bridge forward, so it’s no wonder that sometimes the wood gives in. To me, this has been a turnoff. I’ve felt it’s not designed right, and so I’ve steered clear of it.
Luthier collaboration
A few years back I started to design the Unicorn Supersonic guitar. I wanted it to have a wraparound bridge – if only those drawbacks were solved somehow. The studs were an easy one. Lari (one of my luthiers) and I were drawing a locking stud that would be easy to use.
Then I stumbled upon the locking studs my fellow luthier Jason Schroeder had designed. It was just like my drawing. Jason had gotten there first! I ordered a few of those studs to try them out. The quality was excellent, and the studs did exactly the job I wanted them for. We’ve continued using the Schroeder locking studs ever since, in all the guitars we make with wraparound bridge.
Lock-thru-body bushings
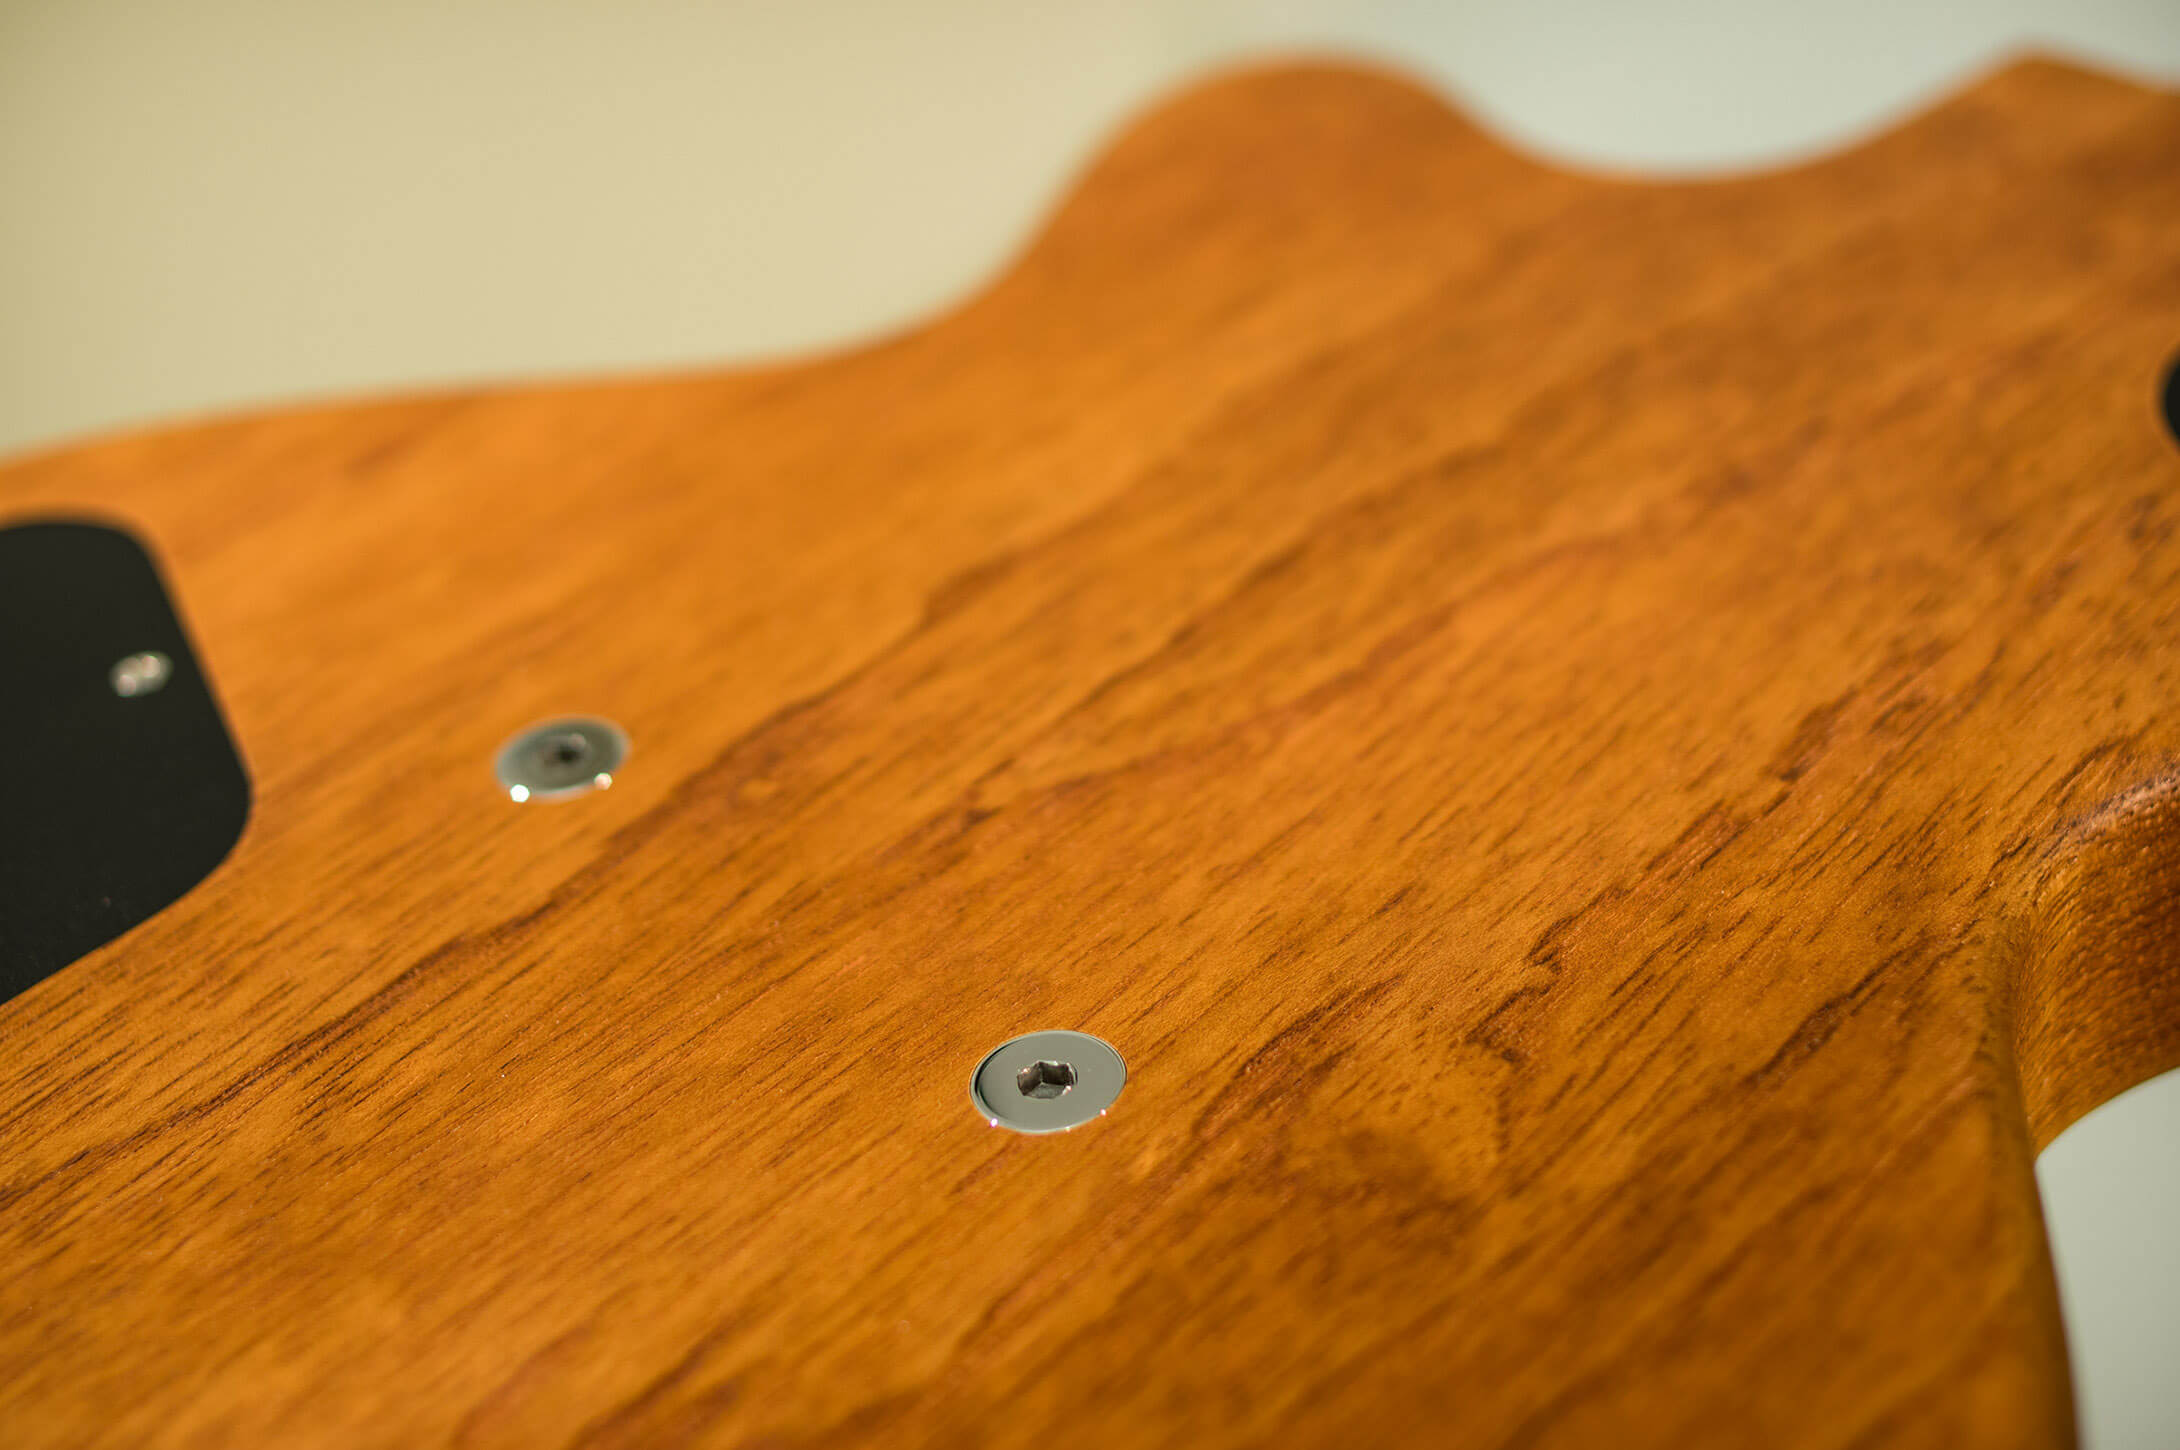
The bushings remained a major concern. I couldn’t find any ready made solutions for the problem, so Lari and I started brainstorming the part. Lari is quite a wizard with not only understanding mechanics, but he also has the skills to do the metal work. We came up with the idea to lock the bushings through the body. A really simple fix to a nasty problem! One of those moments when we thought that somebody must have figured this out before us. But we couldn’t find anything like it anywhere.
Lari made the first prototypes in our shop basement with his 100 years old lathe, and they turned out perfect. It wouldn’t work as an aftermarket part for vintage guitars though. Why? Because you need to drill a hole through the body! But with my guitars, I’m free from the vintage ghosts, so this was the perfect solution for us.
Improving the improved
To complete our task we needed a great wraparound bridge with the right feel. It would need to also meet our strict quality requirements. I contacted ABM and it turned out they were right in the middle of developing a new wraparound bridge. They sent me a prototype, which seemed absolutely great. They had milled it from a billet of aircraft grade aluminium, and the bridge sounded and felt phenomenal. I pointed out a little shortcoming about the total height of the unit, and to my amazement the guys at ABM were thankful for my feedback and improved the design before launching it.
Rock solid wraparound bridge solution
So now I had the ABM 3024 wraparound bridge locked in place with the Schroeder studs, and the whole unit anchored to the body with our own Lock-Thru-Body bushings. The most rock solid wraparound bridge solution ever!
We were so excited about this new bridge concept that we decided to started offering it as an option for all the Unicorn and the Duke guitars. Download the Guitar Creator app and there you’ll have it!
THE SECRET OF TWANG
The material is the key
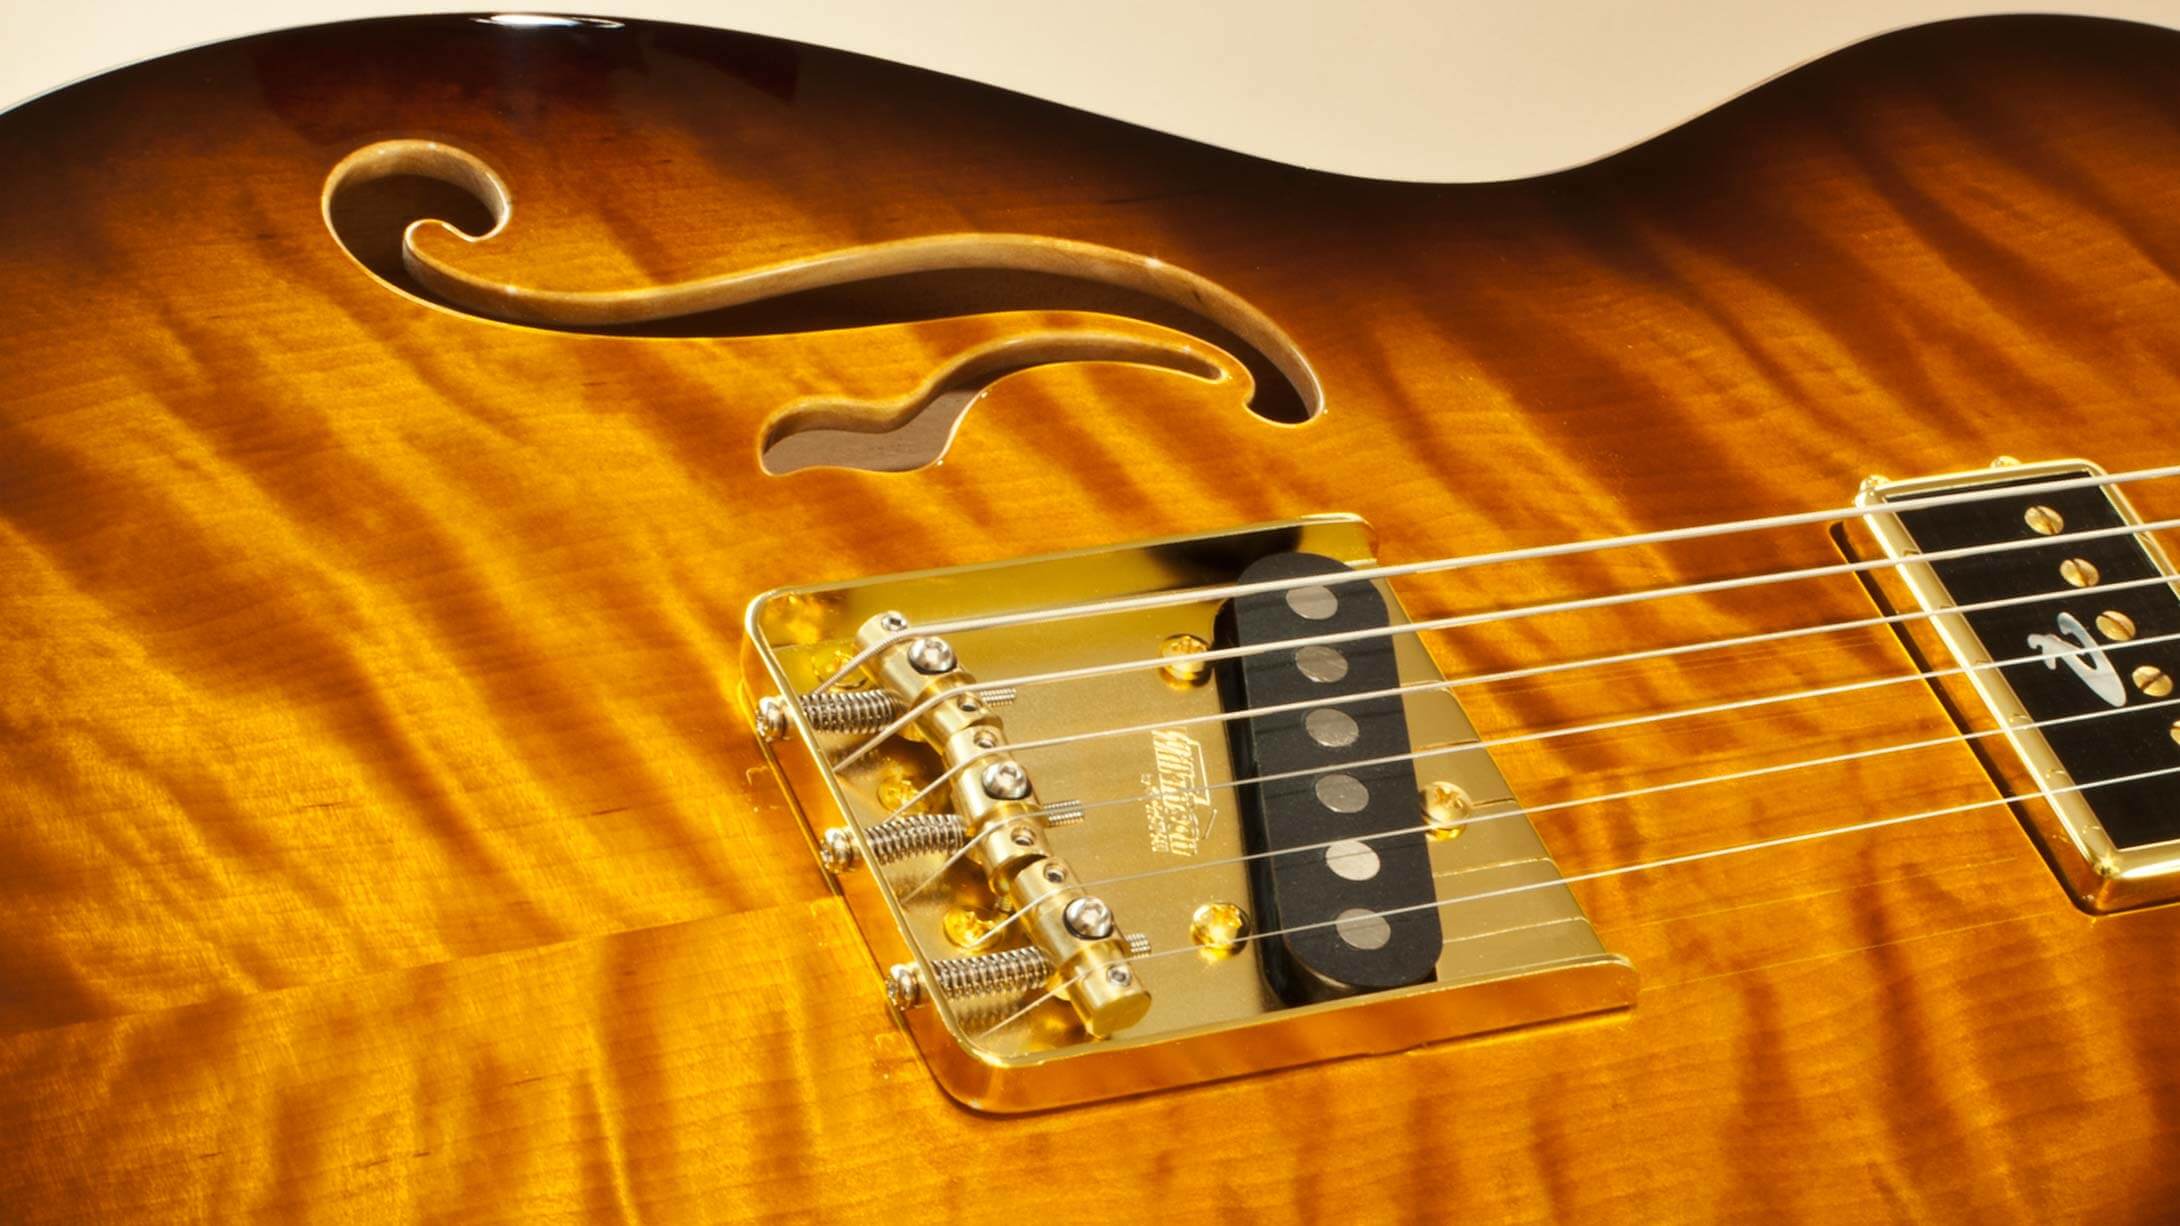
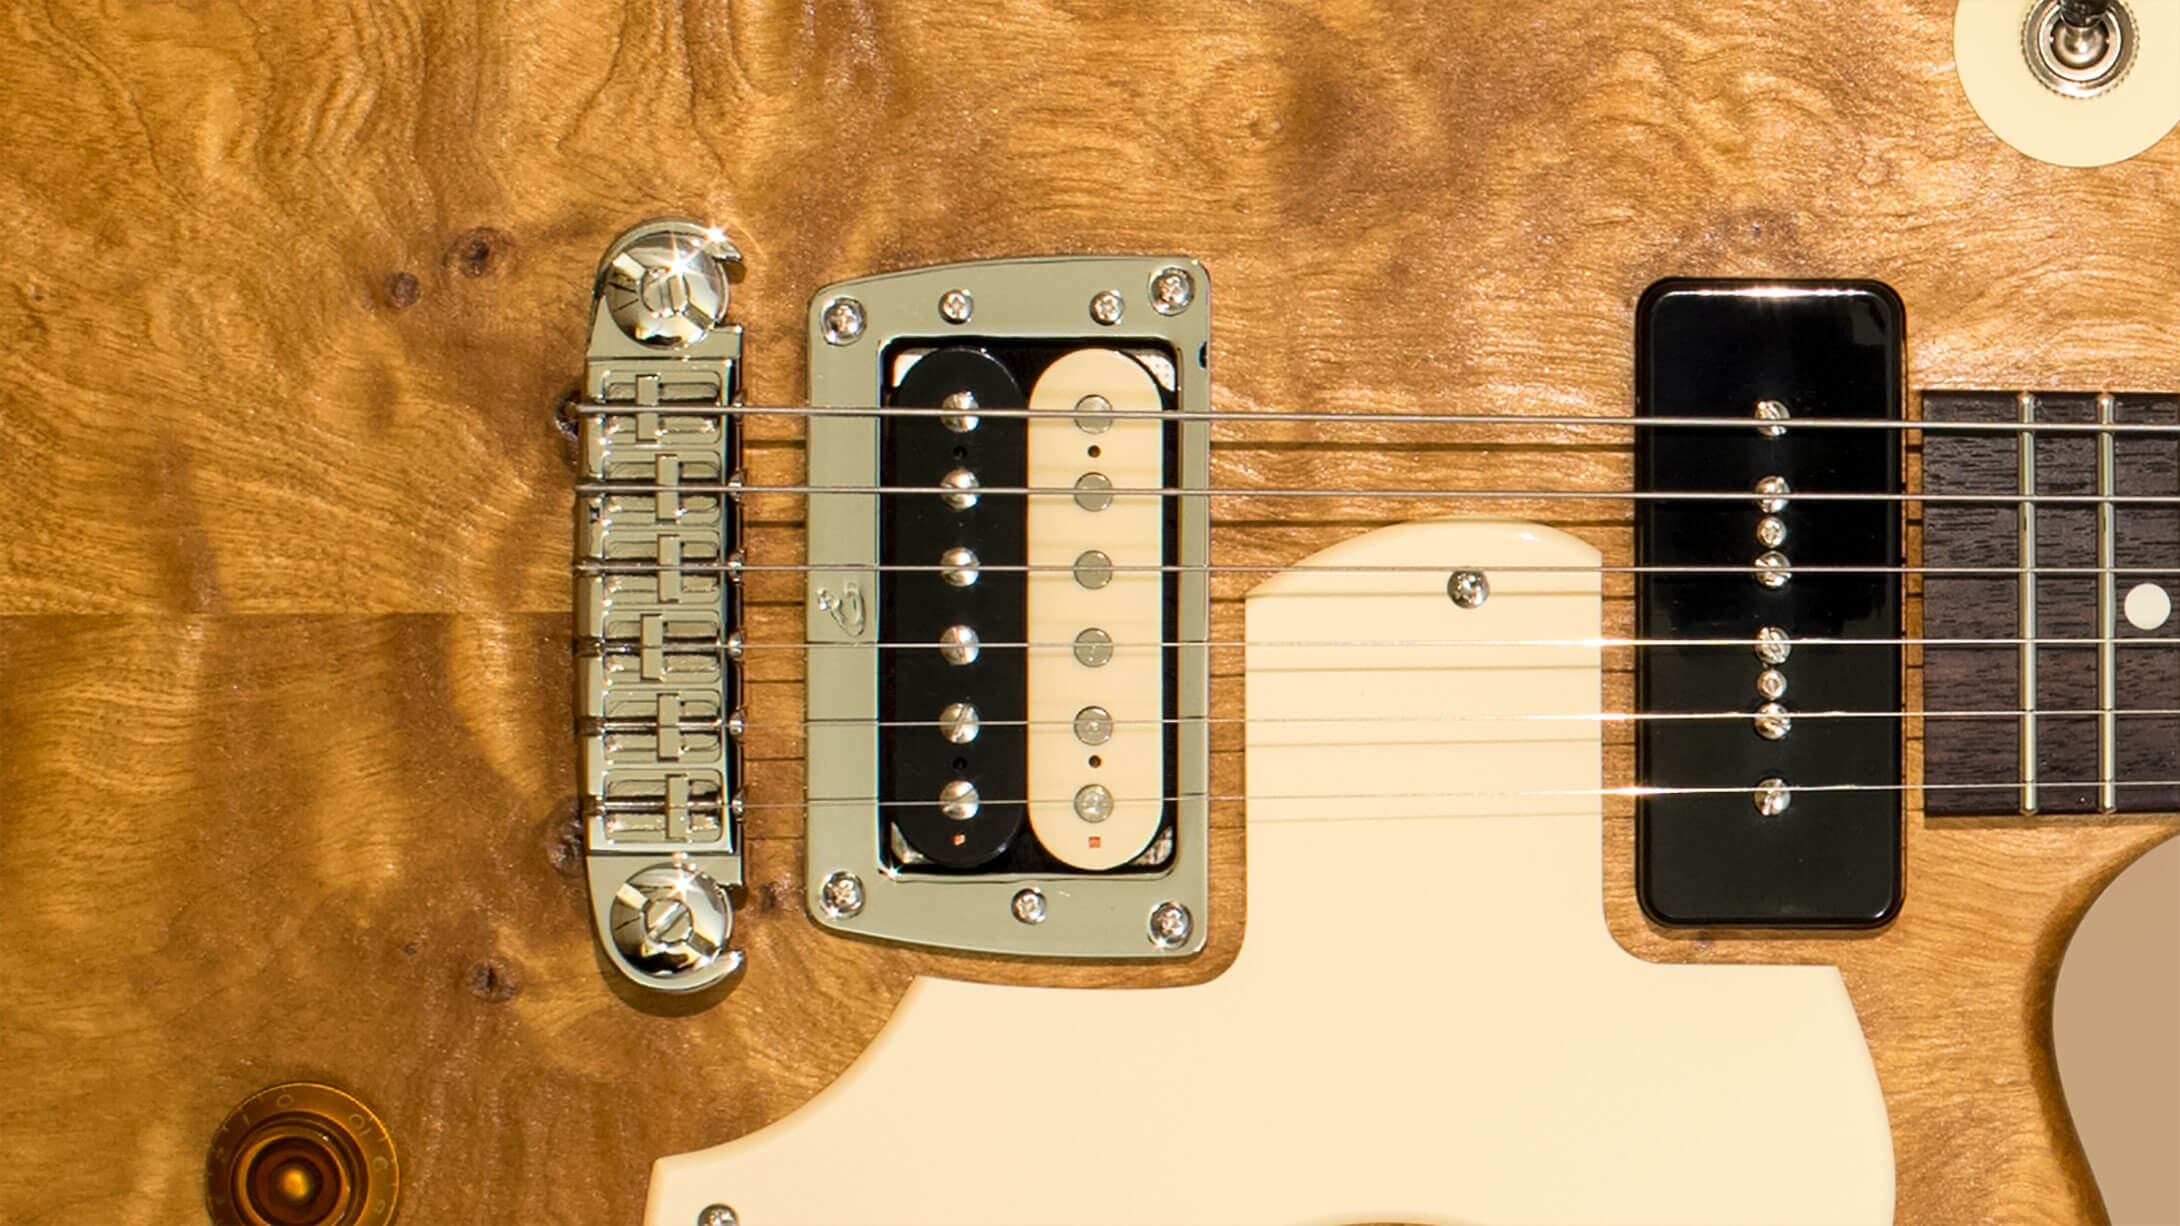
Why do some guitars have a “twangy” sound? The sharp, bright, percussive, mid-rangy, in-your-face type tone that works great to a wide variety of music, most often connected to t-style guitars. There are a number of factors contributing to this special tonal character but not many come to think that one of the key reasons for the twangy sound is the traditional t-style bridge baseplate made of steel, which functions as a mounting ring for the bridge pickup as well. The steel plate changes the shape of the pickup magnetic field, contributing to the characteristic edgy sound of the guitar.
The magnetic flux changes
When you change the bridge material to a non-magnetic material – like brass or stainless steel – the sound of the guitar changes. One would say the sound improves – while another hears the alteration in a negative way. So there are no rights or wrongs here. It’s all a matter of personal preference. But – it is certainly useful to be aware of the fact that a steel plate surrounding a pickup affects the pickup sound due to the change of the magnetic flux.
WHAT IS A TWANG RING?
Think outside the box
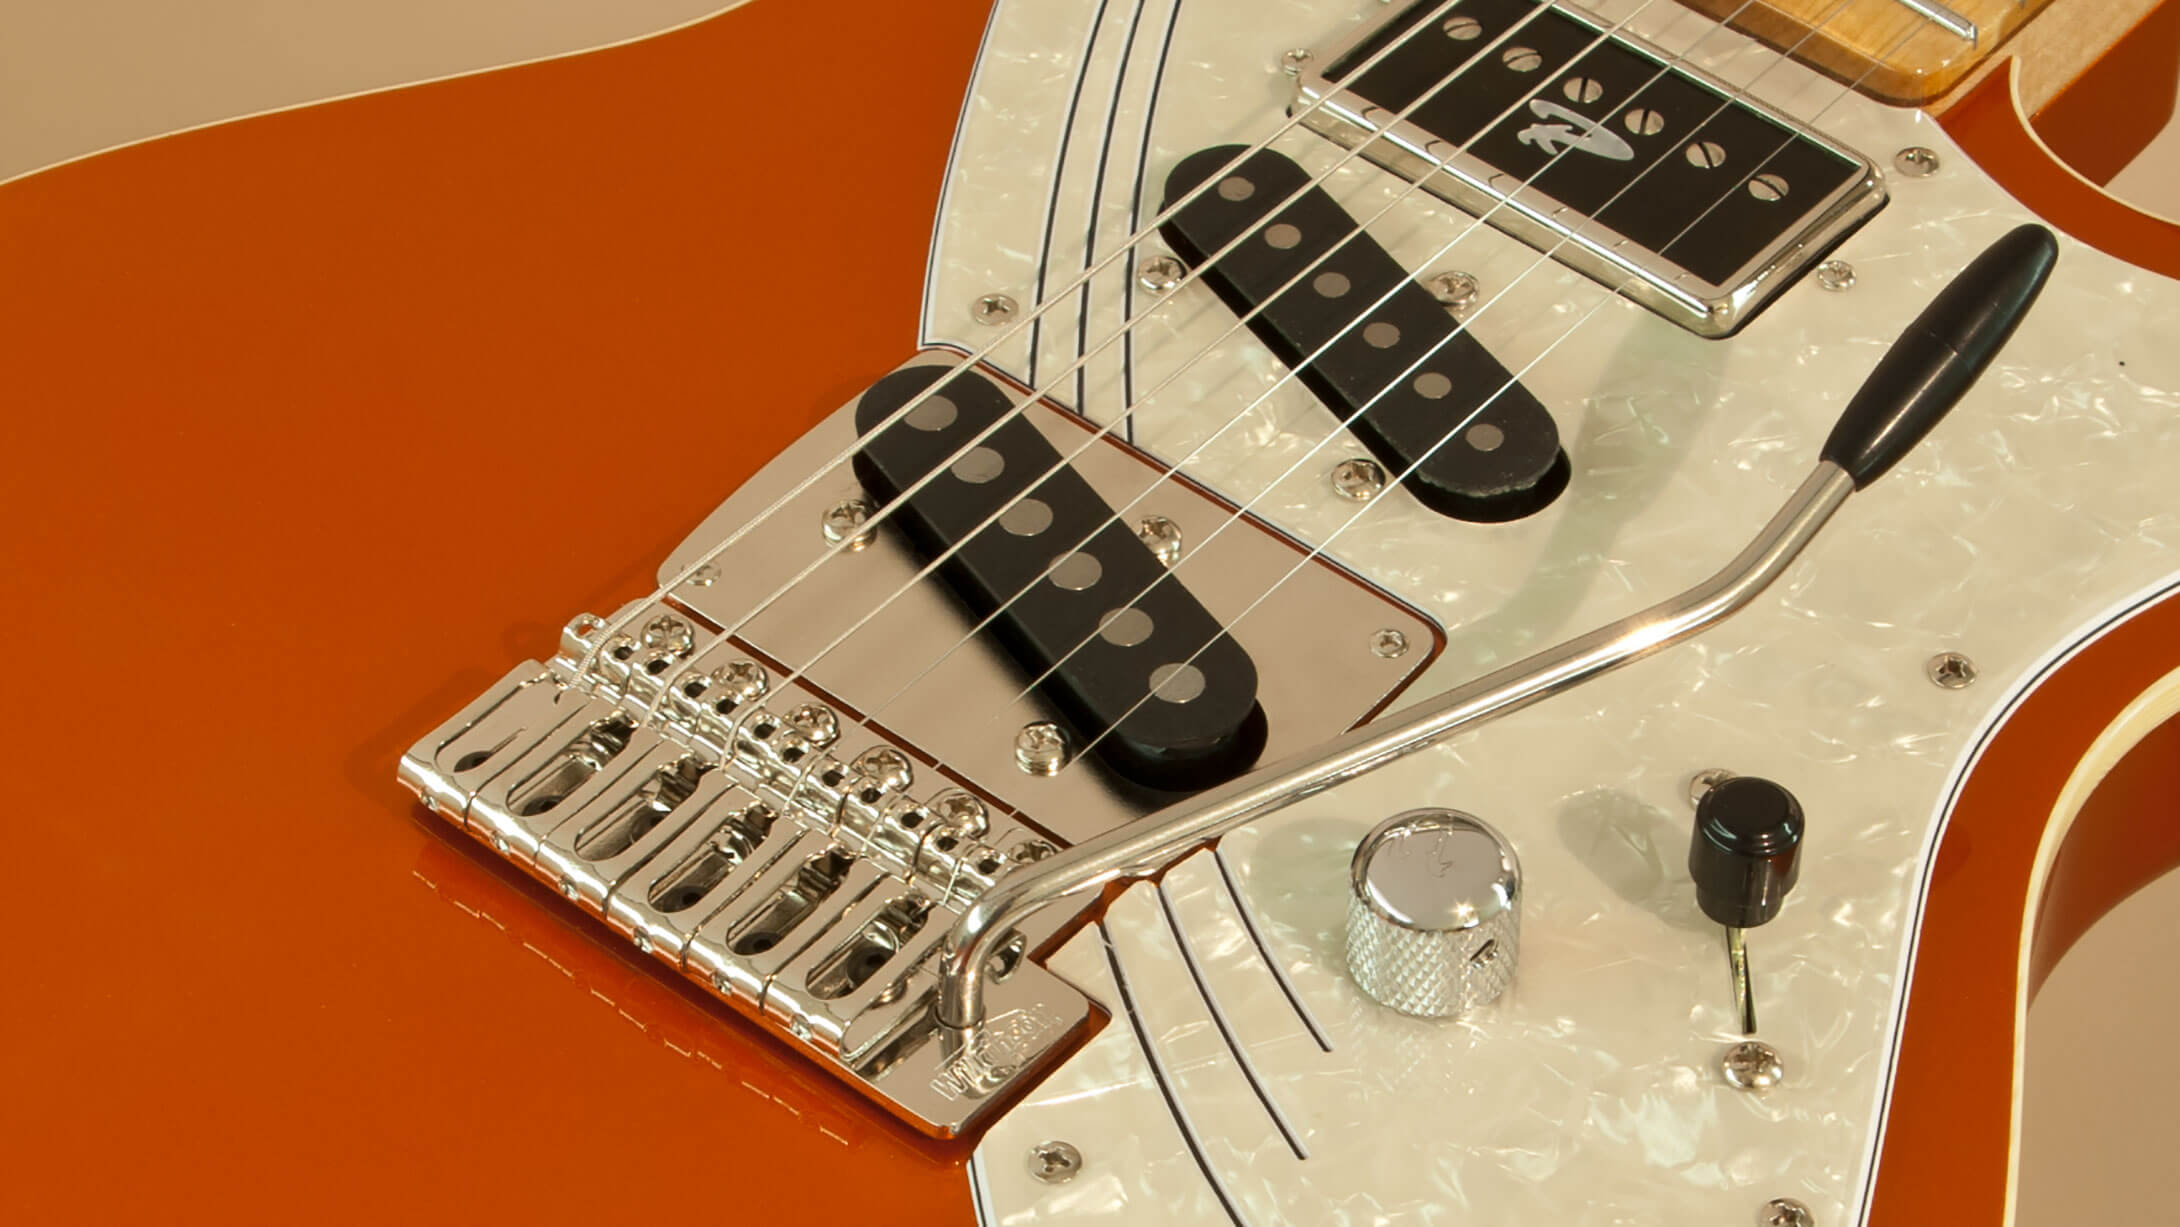
When you think outside the box, you sometimes stumble upon surprising ideas. Even if this little story is not exactly about a guitar bridge, it is bridge related, so here goes. Based on the aforementioned phenomenon (steel changes the shape of the magnetic field of a pickup), we have developed a little custom part called the “twang ring”. It is a pickup ring we first started using in the Mojo King model. The idea was to find a solution to not lose the twang even if we install a vibrato bridge to a guitar. The twang ring works very nicely for this purpose – even though the vibrato does always alter the sound of a guitar as well. More about that later!
The perfect guinea pig
After making quite a few Mojo Kings, I asked myself: Since the twang ring works so well, why don’t we try it in other types of guitars as well? Since it adds “twang” to a Mojo King, how would it work for example in a humbucker equipped guitar? I was developing the Unicorn Supersonic model at the time, and that felt like the perfect guinea pig for the purpose. The twang ring worked beautifully in it, adding a slight edge to the humbucker sound. As a nice side effect, we have now humbucker size twang rings available also for the Mojo model.
THREE OR SIX SADDLES?
Sometimes vintage sucks
There is another common debate about t-style bridges that I want to address. It has to do with the saddles. Should there be three of them, like it used to be back in the day? Or are six saddles better?
Stydying the history, I’m assuming the original idea was just to make a very simple bridge design. A combo that fixes the strings at the body end, mounts one of the pickups and allows to set the intonation somewhat correct. The last of the features sucks, though. You just can’t adjust intonation of six strings with three saddles that move back and forth. In that regard – yes – six saddles is indeed better. Or is it? Read on…
Bridge saddles matter
Eliminating one problem may cause another! Changing this particular bridge design to six saddles, the sound changes as well – and not for the better. The strings press the saddles downwards, and with three saddles the pressure is really strong as the saddles are pressed down by two strings each. This way, the bridge is rock solid. So is the sound. With six saddles, however, the pressure on the saddles is weaker, and the sound loses some of its solidity. So… now we’re back to three saddles..!
A pragmatic solution to a pragmatic problem
One way to fix the intonation is to file the saddles individually. This works fine, but if you change string gauge or brand, you might want to readjust. Not good.
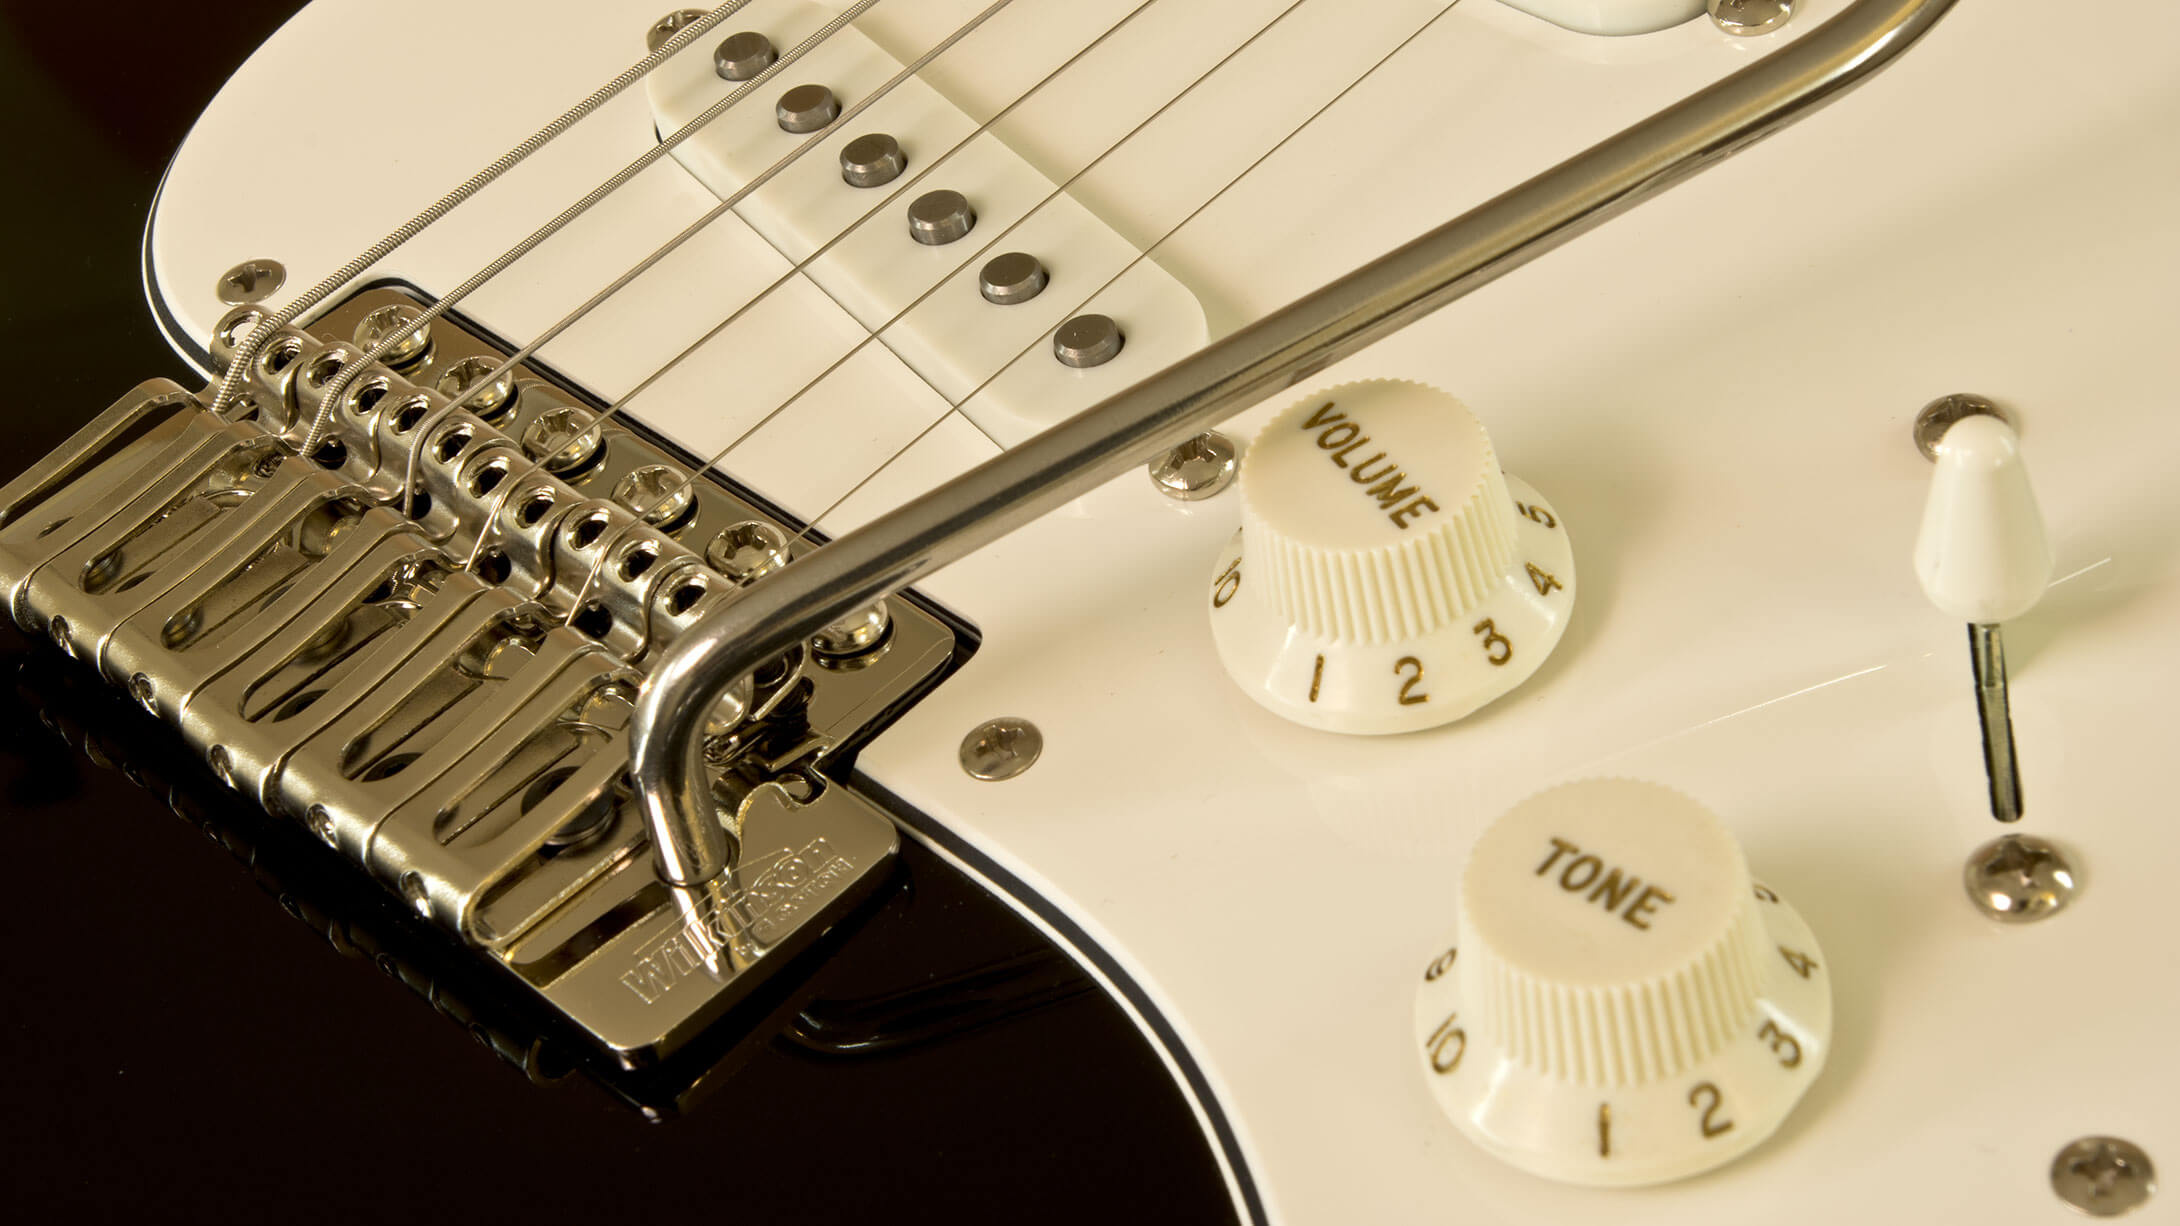
Trev Wilkinson has come up with an ingenious solution to this problem by developing his WT3 saddle that swivels around its axis. The design allows precise intonation adjustment without compromising the string pressure at the saddles.
To me, Trev’s solution is spot on the same wavelength with my thinking. A pragmatic solution to a pragmatic problem, without compromising the tone. That is why we like to use the Gotoh/Wilkinson WT3 bridge in our Mojo guitars.
THE DEVIL IS IN THE DETAILS
Functionality comes first
There is an endless debate going on also about saddle materials of various bridge types. Different materials all affect to the tone slightly, but I’d like to look at this feature from the practical point of view first. Why? Because the tonal differences are so very subtle, that the practical approach just makes more sense as a starting point. First, the bridge has to function well. Secondly, it needs to be durable. After these points are in order, then it’s time to worry about the slight tonal nuances.
Brass or steel?
Brass is a great saddle material for many types of bridges. It is softer than the strings, but hard enough so the strings won’t dig into it if the angle of the string crossing the saddle is not too steep.
The relative softness of brass is good, making the saddle slot edges “gentle” to the strings. This results in less string breakage at the saddles. Too soft materials, however, will cause trouble too. The strings may dig in to the saddles causing tuning problems. The sound may be compromised too – dampened high frequencies or too soft attack.
Hardened or not?
In some applications, hardened steel works better than brass. The Gotoh/Wilkinson VSVG that we use a lot in the Vsop and Aeon models is a vibrato bridge evolved from a vintage s-style vibrato. This bridge succeeds in eliminating some of the vintage design problems without compromising the sound.
When the saddles are made of hardened steel, it is essential that the shaping of the saddle is precisely right. Otherwise the hard saddle edges will snap off your strings, or easily cause unwanted resonances.
Even the bridge saddle plating matters!
An important, yet often overlooked factor concerning saddles is the plating. Chrome-plating is super hard, and this can cause severe string breakage problems to a guitar. If the saddles are made of a soft material (brass, or die-cast zinc), the strings may sink in to the soft metal, but the hard chrome plating won’t flex one bit. Instead, the chrome breaks and leaves a razor sharp edge right under the strings. And then you’ll break strings over and over again…
This is why I prefer in most cases saddles that are either non-plated – or if plated, then the plating sould be done with a softer metal such as nickel or gold. Chrome plating works in a saddle in my experience only when it’s applied on very hard metal and when the string passes the saddle in a very gradual angle – such as the Gotoh GE1996 locking vibrato has.
TREMOLO… OR VIBRATO?
The effect of vibrato springs
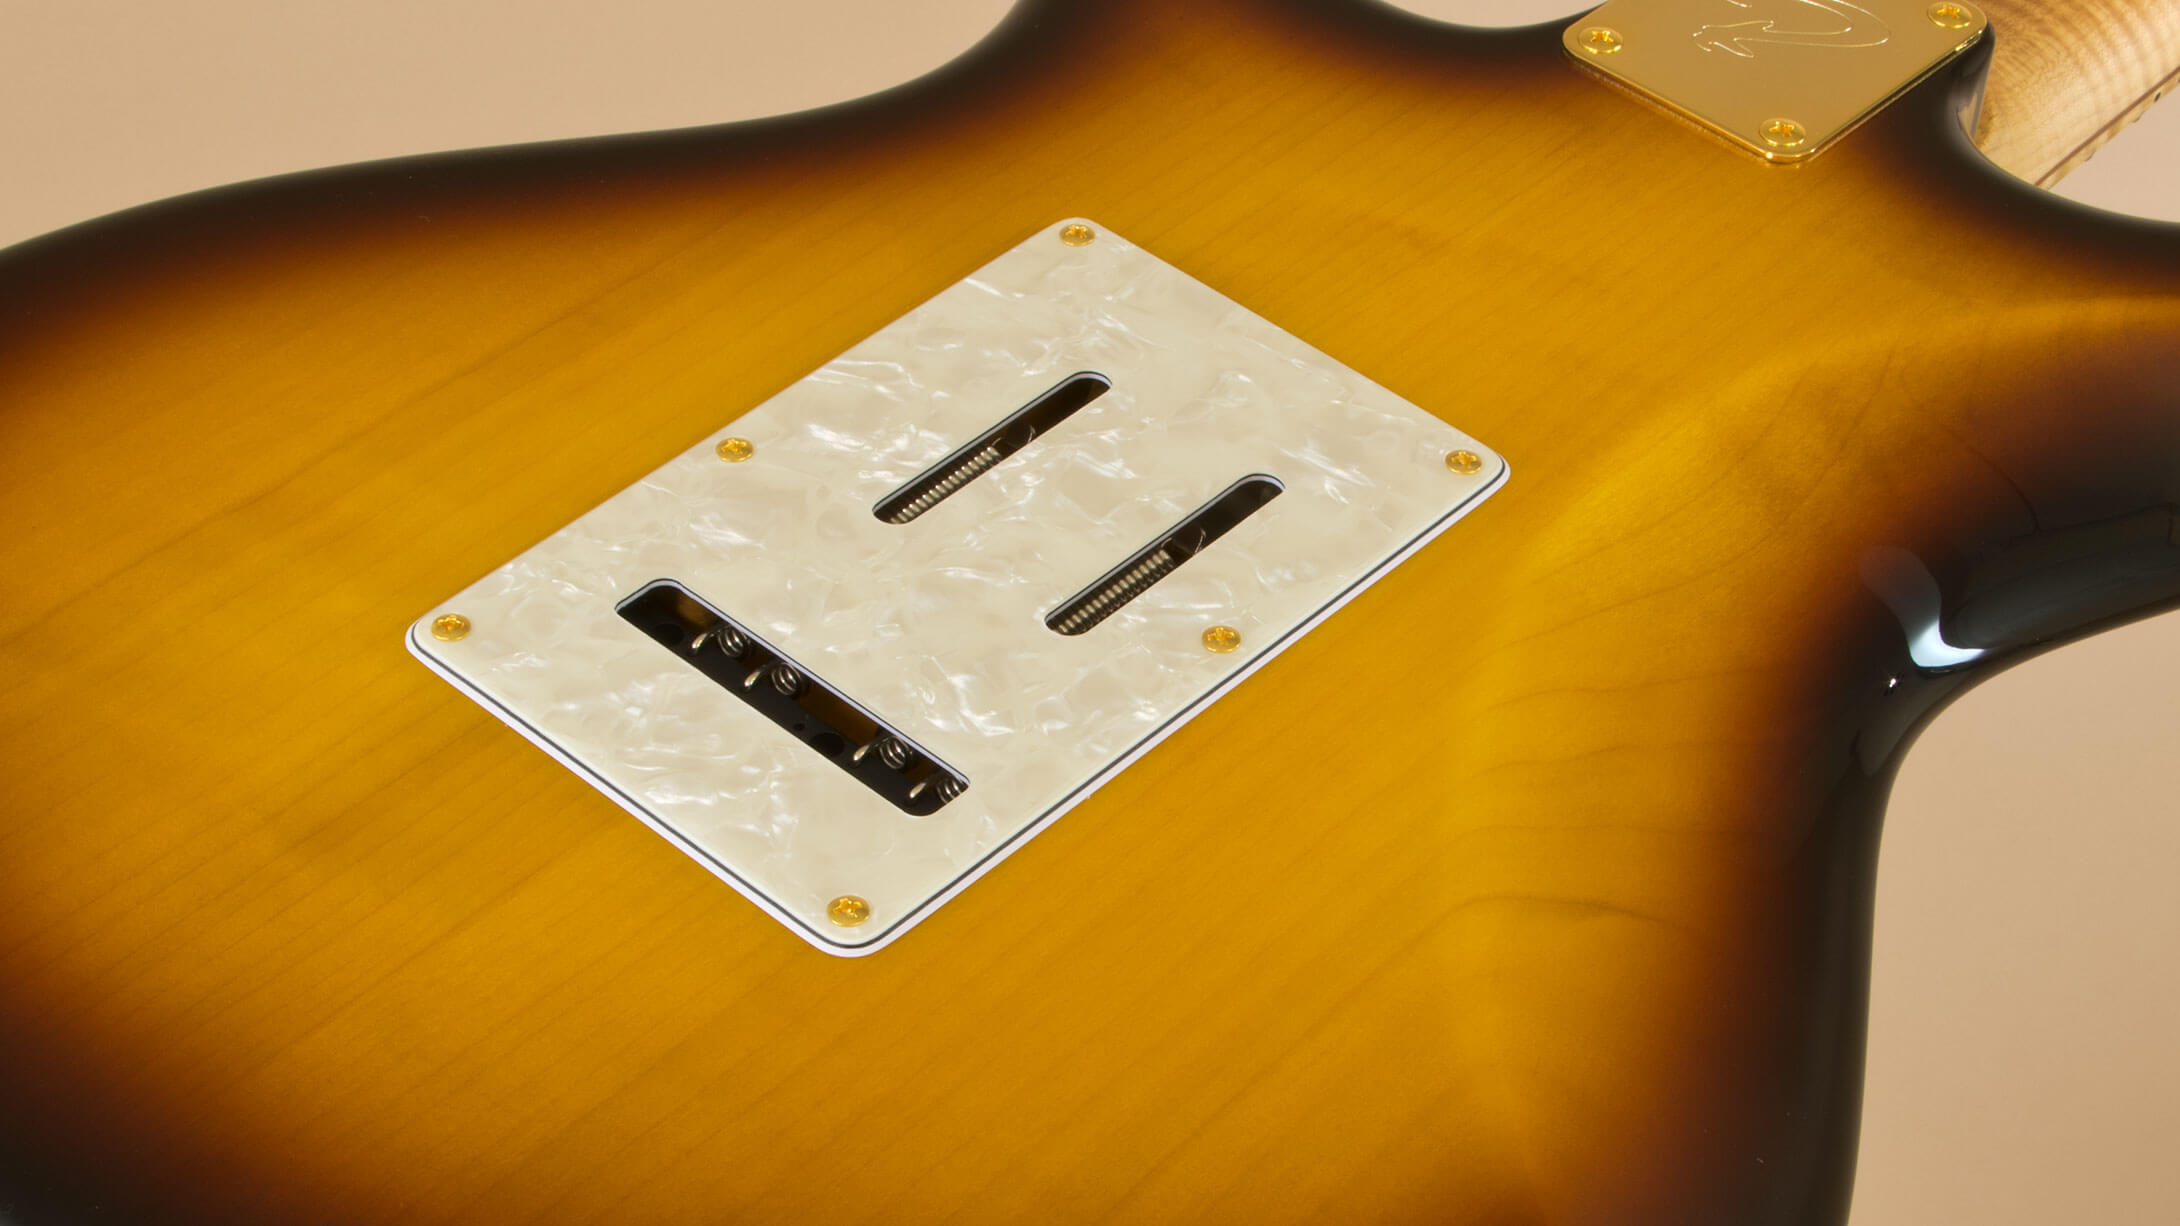
Let’s look at some vibrato bridges in more detail. First the classics. Generally speaking, all s-style vibrato bridges and its descendants require a chunk of wood to be routed off from the back of the body. This allows to mount the springs that act as a counter-force to the string pull.
This construction affects the sound of the guitar for several reasons: 1) Part of the wood is routed off. 2) Spring mechanism makes a “reverbish” sound when hitting the strings. 3) The bridge trembles slightly as with the strings vibrate. 4) The bridge “gives in” when bending strings.
Is old school better because it’s old..?
All mentioned in the previous chapter is perceived by the player as a natural part of the classic “s-style guitar sound”. Nothing wrong with that. Many prefer the vintage s-style vibrato bridge in their guitar. Is there any sensible reasons why it is so? Or is it the vintage voodoo, you know, the common myth about the old way being better because… well, it’s old?
The original s-style vibrato mounts to the guitar body with six wood screws. You might think this is old-fashioned and outdated, but I’m one of those who like the six-screw mounting a lot. Why? Because this is the only type of non-locking vibrato where the baseplate front edge rests – and is pressed against – on top of the guitar. This allows the energy transmit from a wider, more solid area of the bridge to the body.
When a bridge with six-screw mount is made with high precision of premium materials, the guitar will also keep its tuning very well – as long as the rest of the guitar is set up to par with the bridge, of course.
The problems of old school s-style bridges
There are a couple of other details I’m not so much in favour regarding the vintage style vibrato, though. I don’t like slack in the vibrato arm. That’s one of the many reasons we use mostly the VSVG model by Gotoh/Wilkinson.
Also, the string spacing of the vintage bridge is unnecessarily wide, resulting that the strings are too close to the fretboard edges. Another great reason for me to use the VSVG (or other bridges with improved string spacing).
By the way – it’s a vibrato. Not a tremolo. Ok?
DOES KNIFE EDGE STAY BETTER IN TUNE?
The knife edge makes a bridge vibrate more
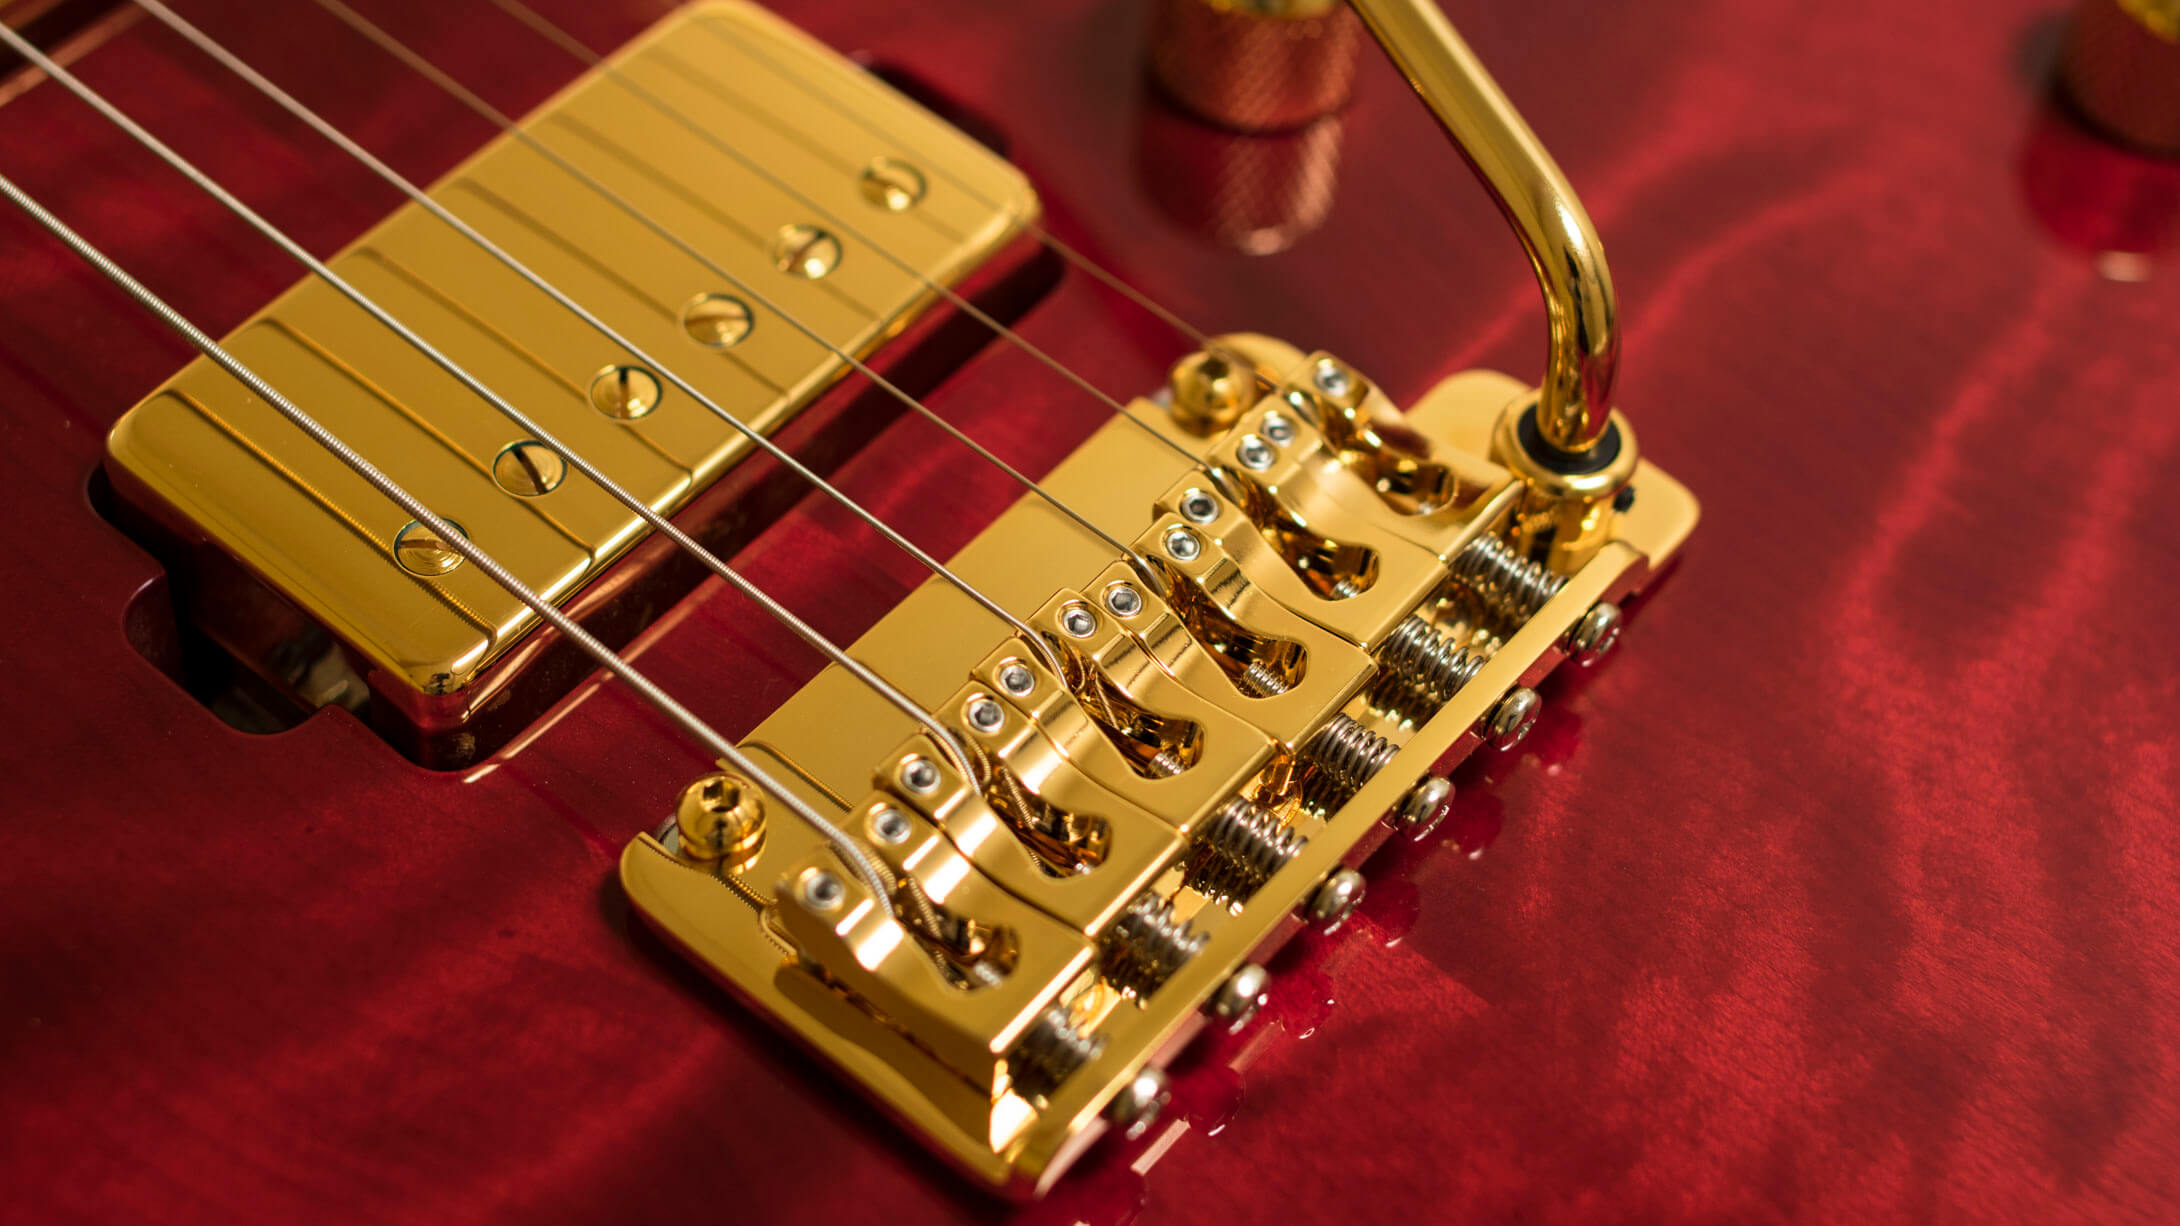
Some players prefer a non-locking vibrato with two posts and knife edge movement. Even if it would feel counterintuitive to some, this approach actually requires even higher precision from the rest of the guitar in order to maintain the tuning in a satisfactory way. It is because the knife edge makes the vibrato more sensitive, just like a locking trem.
In other words – when you play, the bridge trembles back and forth ever so slightly, even if you don’t touch the vibrato arm. Another example demonstrating the sensitivity is a situation when you rest your picking hand on the bridge. A knife edge type vibrato goes easier out of tune (cause your hand presses the bridge) than a vibrato mounted with six screws.
When the player acknowledges all this, learns to deal with it, a non-locking knife edge vibrato is certainly a great device that can add greatly to the expressive range of the player. For example, the Gotoh 510 series offers a few outstanding pieces of equipment that work well and sound fantastic.
No slack in the vibrato arm, please!
One detail worth mentioning is the way Gotoh has solved the vibrato arm mounting – none of their VSVG, 510 or locking vibrato arms have slack, and they’re easy to adjust to any player’s taste. Might feel like a small detail but from the practical point of view this makes a world of difference as compared to most other vibratos.
DIVEBOMBING IN TUNE
The locking vibrato systems
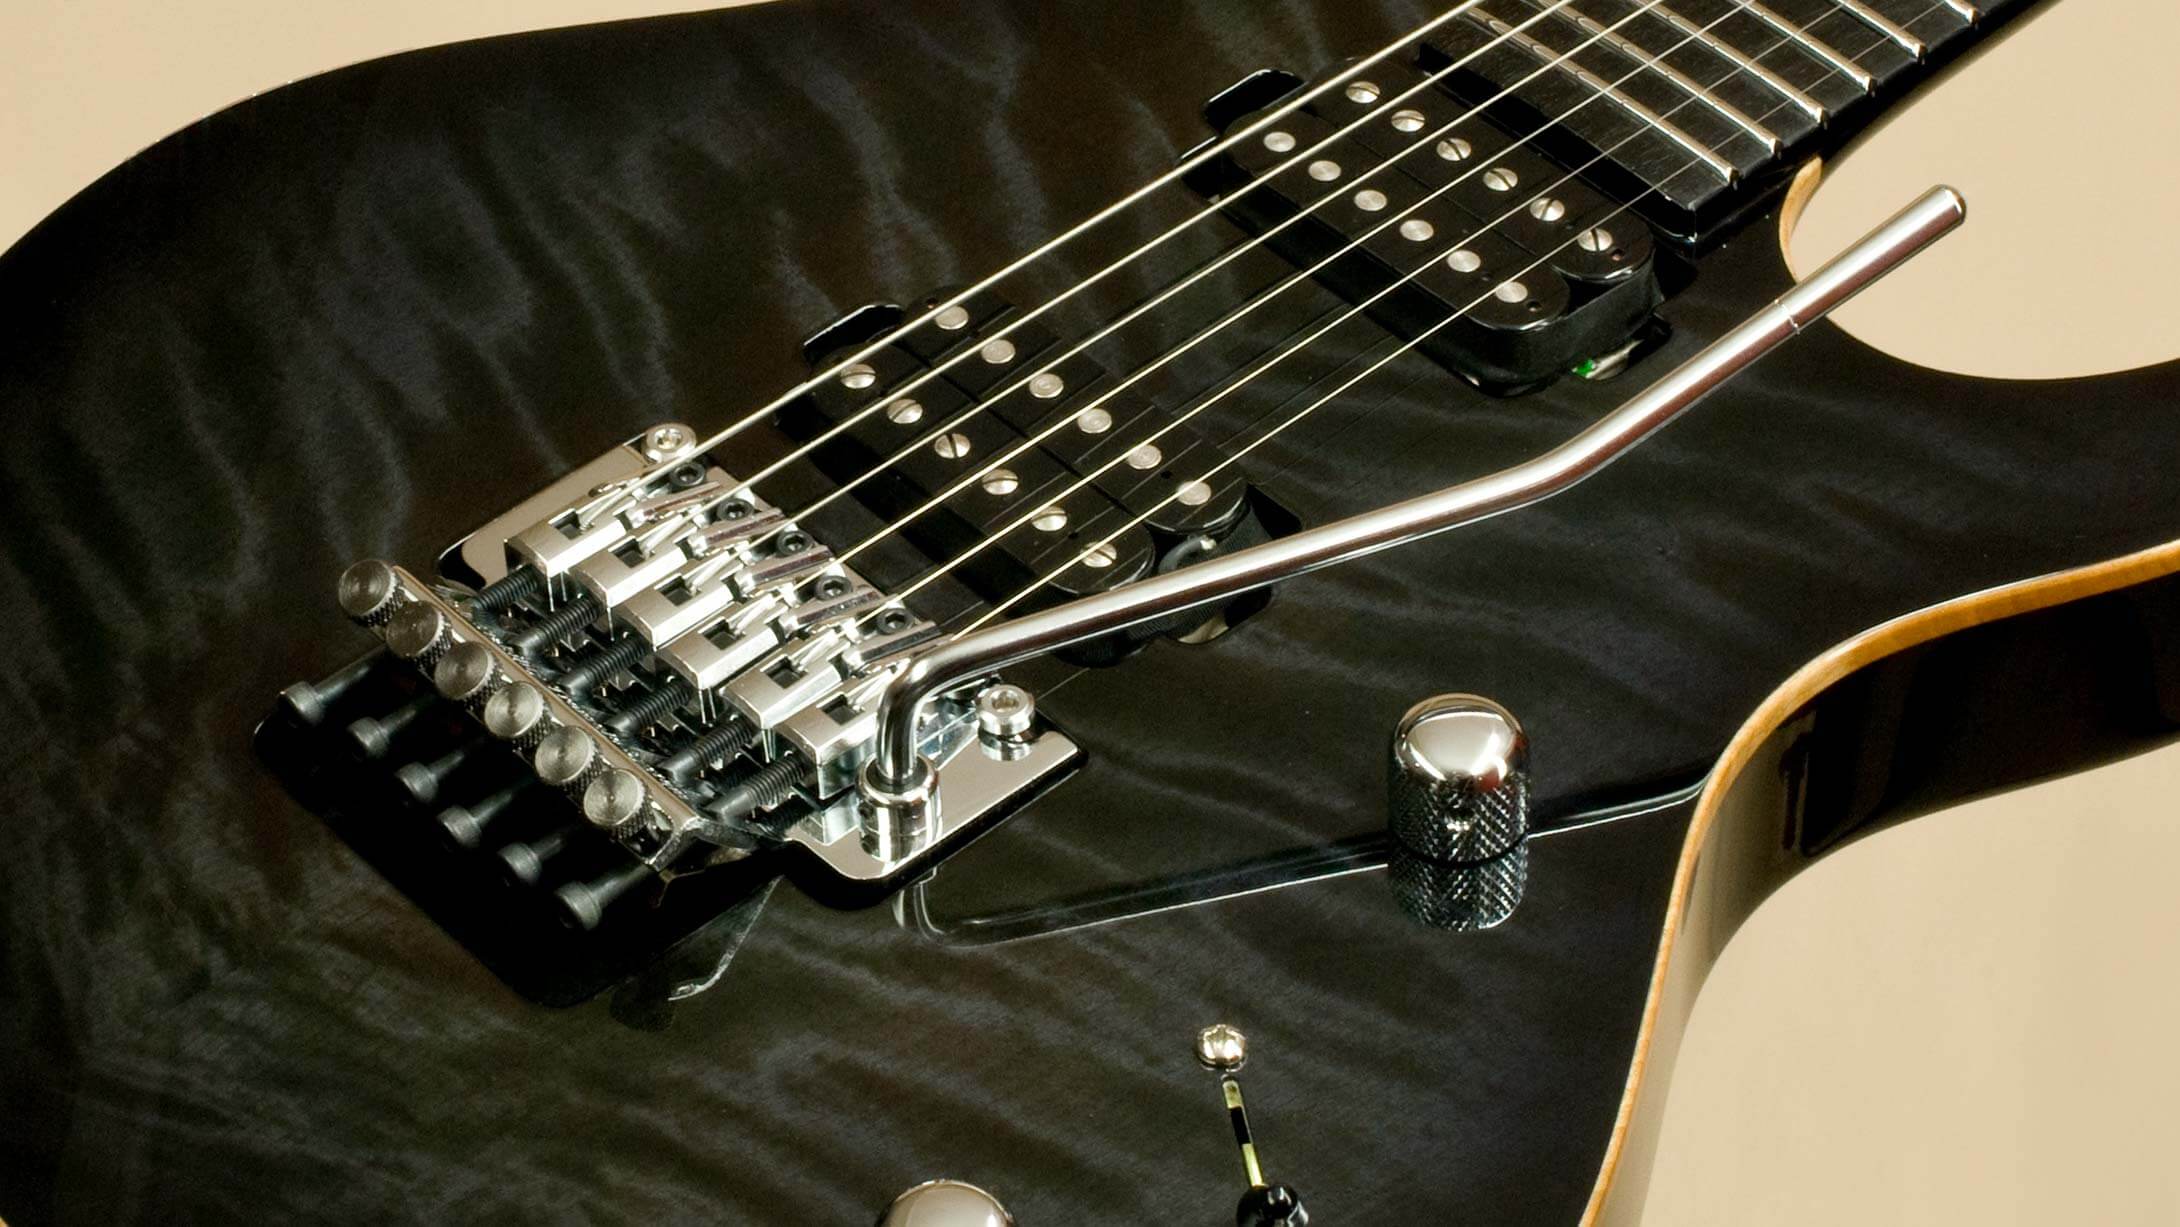
A locking vibrato has a very specific role to play in a guitar. No other vibrato keeps the tuning as well under such heavy use as many shredders need for their music.
The Original Floyd Rose is in this category the benchmark product that others are usually compared with. Unfortunately the quality of Floyd Rose has spiralled down over the years, and I prefer to use other versions when possible.
Japanese engineering precision
Talking about favourites. My number one choice among locking whammies has been for a long time the Gotoh GE1996. We’ve installed it to most of the Hellcat guitars ever built, and it is a wonderful example of japanese design and engineering precision. I’m totally on the same page with how the Gotoh engineers think. They’ve studied carefully the market leader part, spotted the weak spots and designed a better product.
In theory all good… and then life steps in!
The knife edges and their corresponding slots in the studs are an important factor in a locking vibrato. They have a crucial role in keeping the guitar in tune. Floyd Rose (and many others) have approached this detail in attempt to eliminate friction at the knife edges. They’ve chosen a hard material and shaped the knife edge literally sharp as a knife. In theory, this would be the best solution to the problem.
A brand new Floyd vibrato does keep the tuning extremely well – but then life steps in! The pressure at the knife edges is very high, and after a while (how long, depends on the player) of extensive vibrato usage, the knife edges (and the corresponding stud slots) will wear down, or the sharpest edges will chip off. The tuning stability deteriorates, and it keeps getting worse until you have to replace the worn down parts.
A better approach
Gotoh has taken another approach. The GE1996 knife edge isn’t exactly a knife edge at all. It has a tiny radius to it – matched with corresponding radius in the studs. This means the Gotoh vibrato has slightly more friction than a brand new Floyd Rose vibrato would have – but at the same time, the Gotoh part is extremely durable. The Gotoh knife edges won’t wear down at all in the way Floyd parts will.
The new Gotoh GE1996 keeps the tuning with 99,9% precision – and the situation won’t get worse in time. It is the best locking vibrato available. A part you and I can both rely on.
Details, details, details
Another point worth mentioning is the way the vibrato arm mounts to the body of the vibrato. In a Floyd Rose vibrato the arm can feel wobbly even when brand new. And if not, eventually it will.
Another word of critic about the nut that fastens the arm to the plate – when you use the arm, the nut keeps loosening by itself. In the GE1996, Gotoh has used their proprietary mechanism to fix the arm – the same one they use in the 510 non-locking vibratos. You push the arm in to a snug nylon bushing in the body of the vibrato, and the arm has an inner threading that acts as a height adjustment for the arm. You can adjust the tightness of the arm by a little set-screw. A well designed and excellently manufactured part, that can take heavy dives up and down for years and years.
ECHOES FROM THE BOWED INSTRUMENT FAMILY
The roots of tune-o-matic
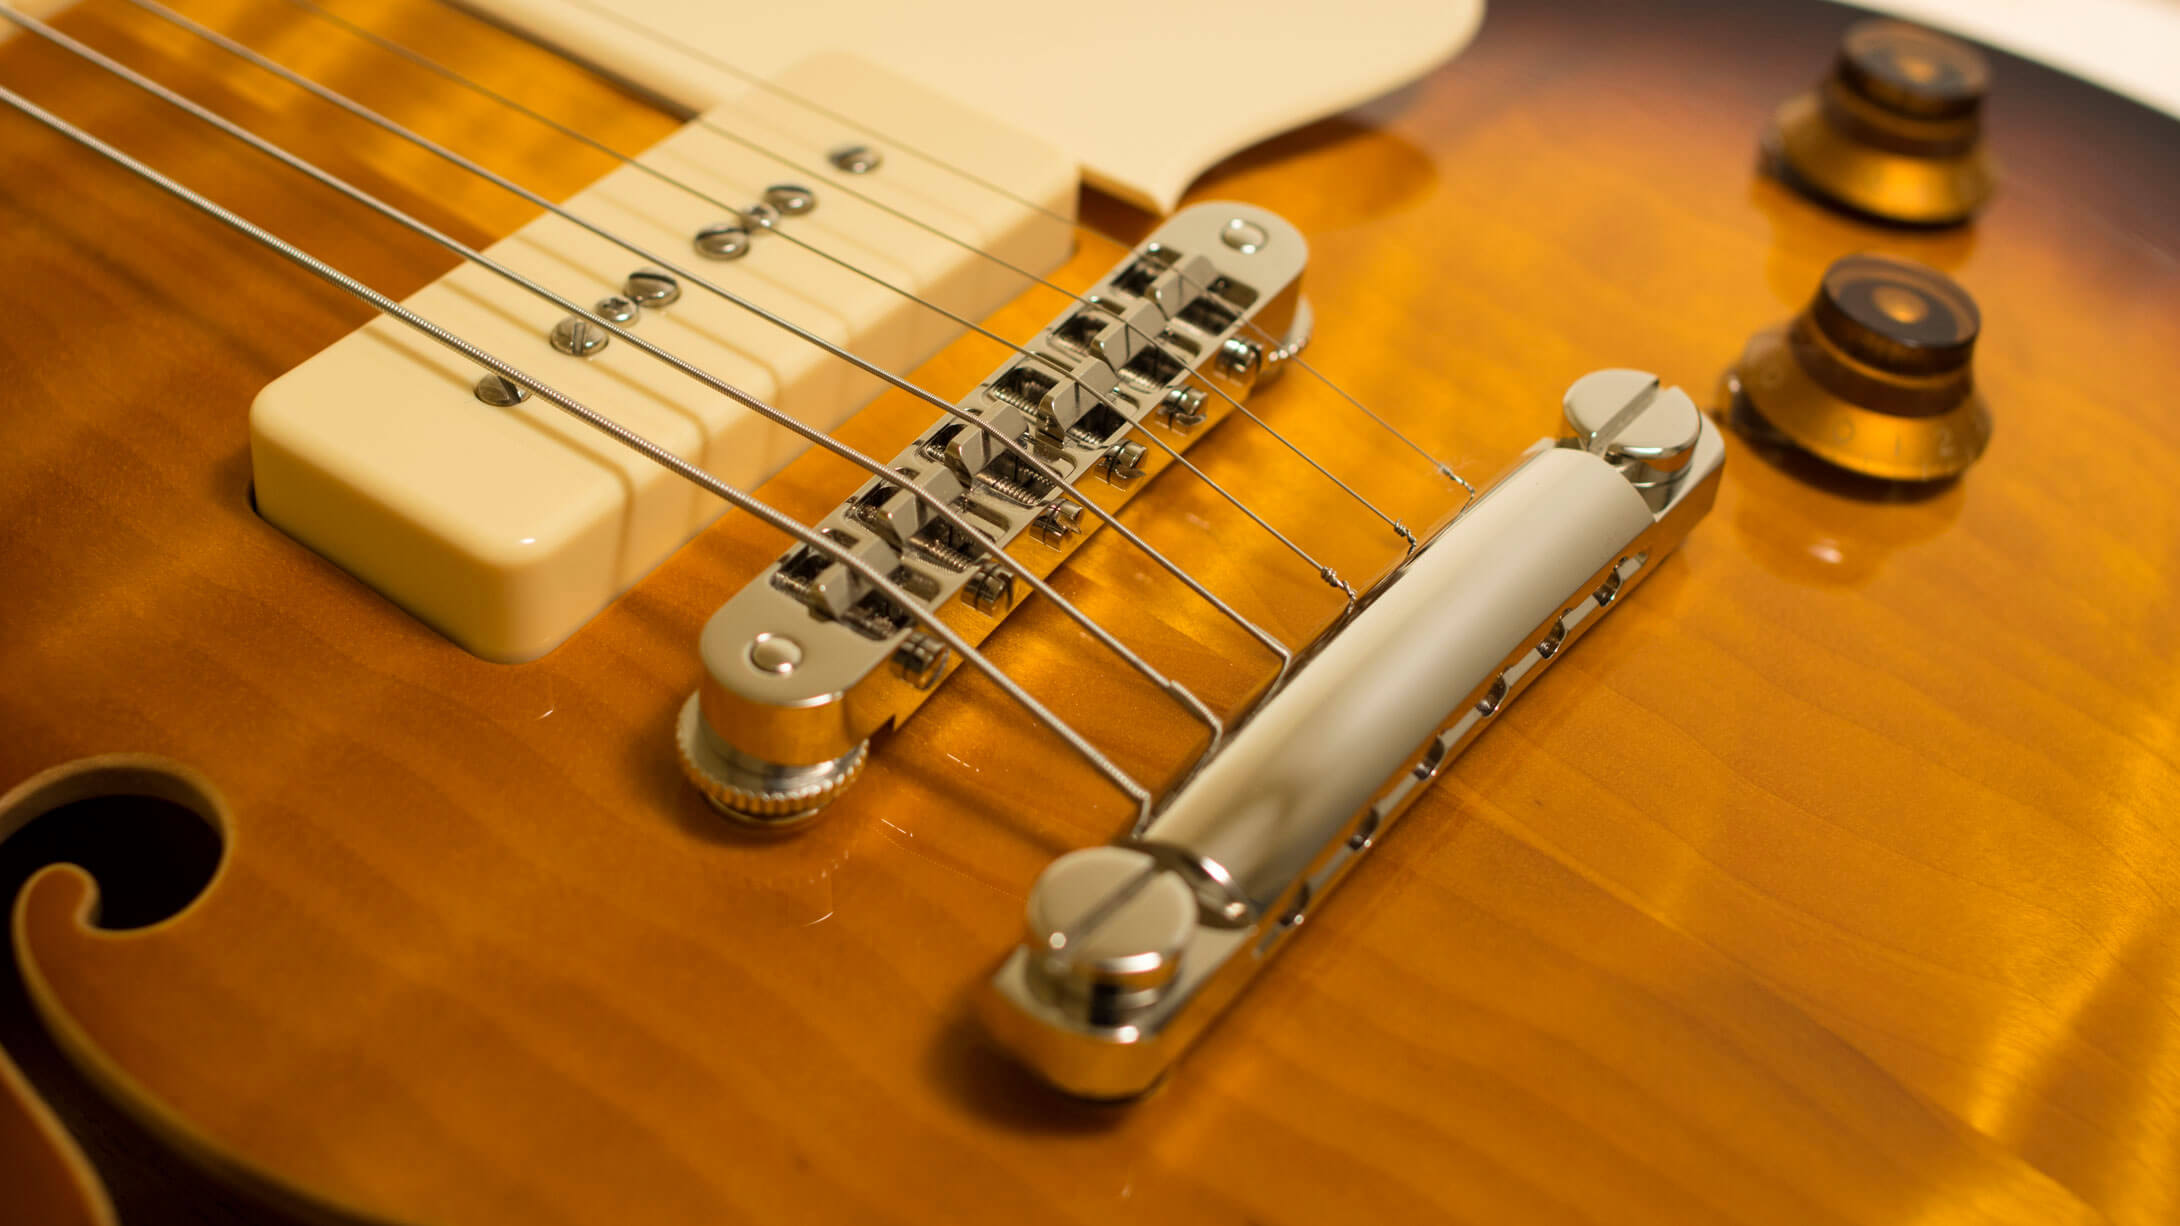
The roots of the tune-o-matic electric guitar bridge lay deep in the history of acoustic archtop guitars and the bowed instrument family.
When you look at the Duke or the Unicorn from side perspective, you notice that the body, neck, headstock, bridge and tailpiece form a similarly angled shape as in a violin. The strings pull the stop tailpiece forward and press the bridge downwards, against the top of the instrument. This construction contributes to the sound of the guitar tremendously.
I’ve used many tune-o-matic variants over the years. I’ve seen new products pop up with great little improvements and become successful fast. Then the production has been ramped up, followed by the quality spiralling down.
The tune-o-matic bridge and stop tailpiece may seem like simple parts, but there are a number of details that can go wrong if the design isn’t perfect and/or the build quality isn’t up to par with the design.
Die-cast or milled?
Most cheaper (and some of the expensive ones) tune-o-matic frames are die-cast zinc. This metal alloy is not very strong, and the typical problem is that the frame gives in under the pressure of strings. When that happens, the radius of the bridge doesn’t match the fretboard radius anymore. This causes a problem to set up the guitar right.
A die-cast part can be good too, though. TonePros used to make a good die-cast tune-o-matic, but then something happened. The metal wasn’t anymore as strong as it used to be, and other quality problems emerged as well. We had no other option but to change brand.
Bell brass rings like… well, a bell!
Now we’re installing ABM 2054 tune-o-matic to most Dukes and Unicorns we make. ABM is a small factory in Germany, that doesn’t offer any die-cast parts. Every frame and saddle is milled from billets of metal.
The tune-o-matic we use is milled from bell brass. The bridge sounds great, and the construction is super rigid. The saddles sit in the bridge frame nice and tight without slack to any direction.
A nice touch in the ABM tune-o-matic is the fact that the saddle inserts have been rounded off so they feel comfortable when resting your palm on the bridge. This is a detail I haven’t seen in other bridges made by milling.
Stop tailpiece milled from aluminium
The ABM stop tailpiece we use is milled from aluminium. It is lightweight, and contributes beautifully to the tonal character of our guitars. The build quality of the ABM parts is second to none.
THE HEIGHT OF THE STOP TAILPIECE
How to get the best sustain?
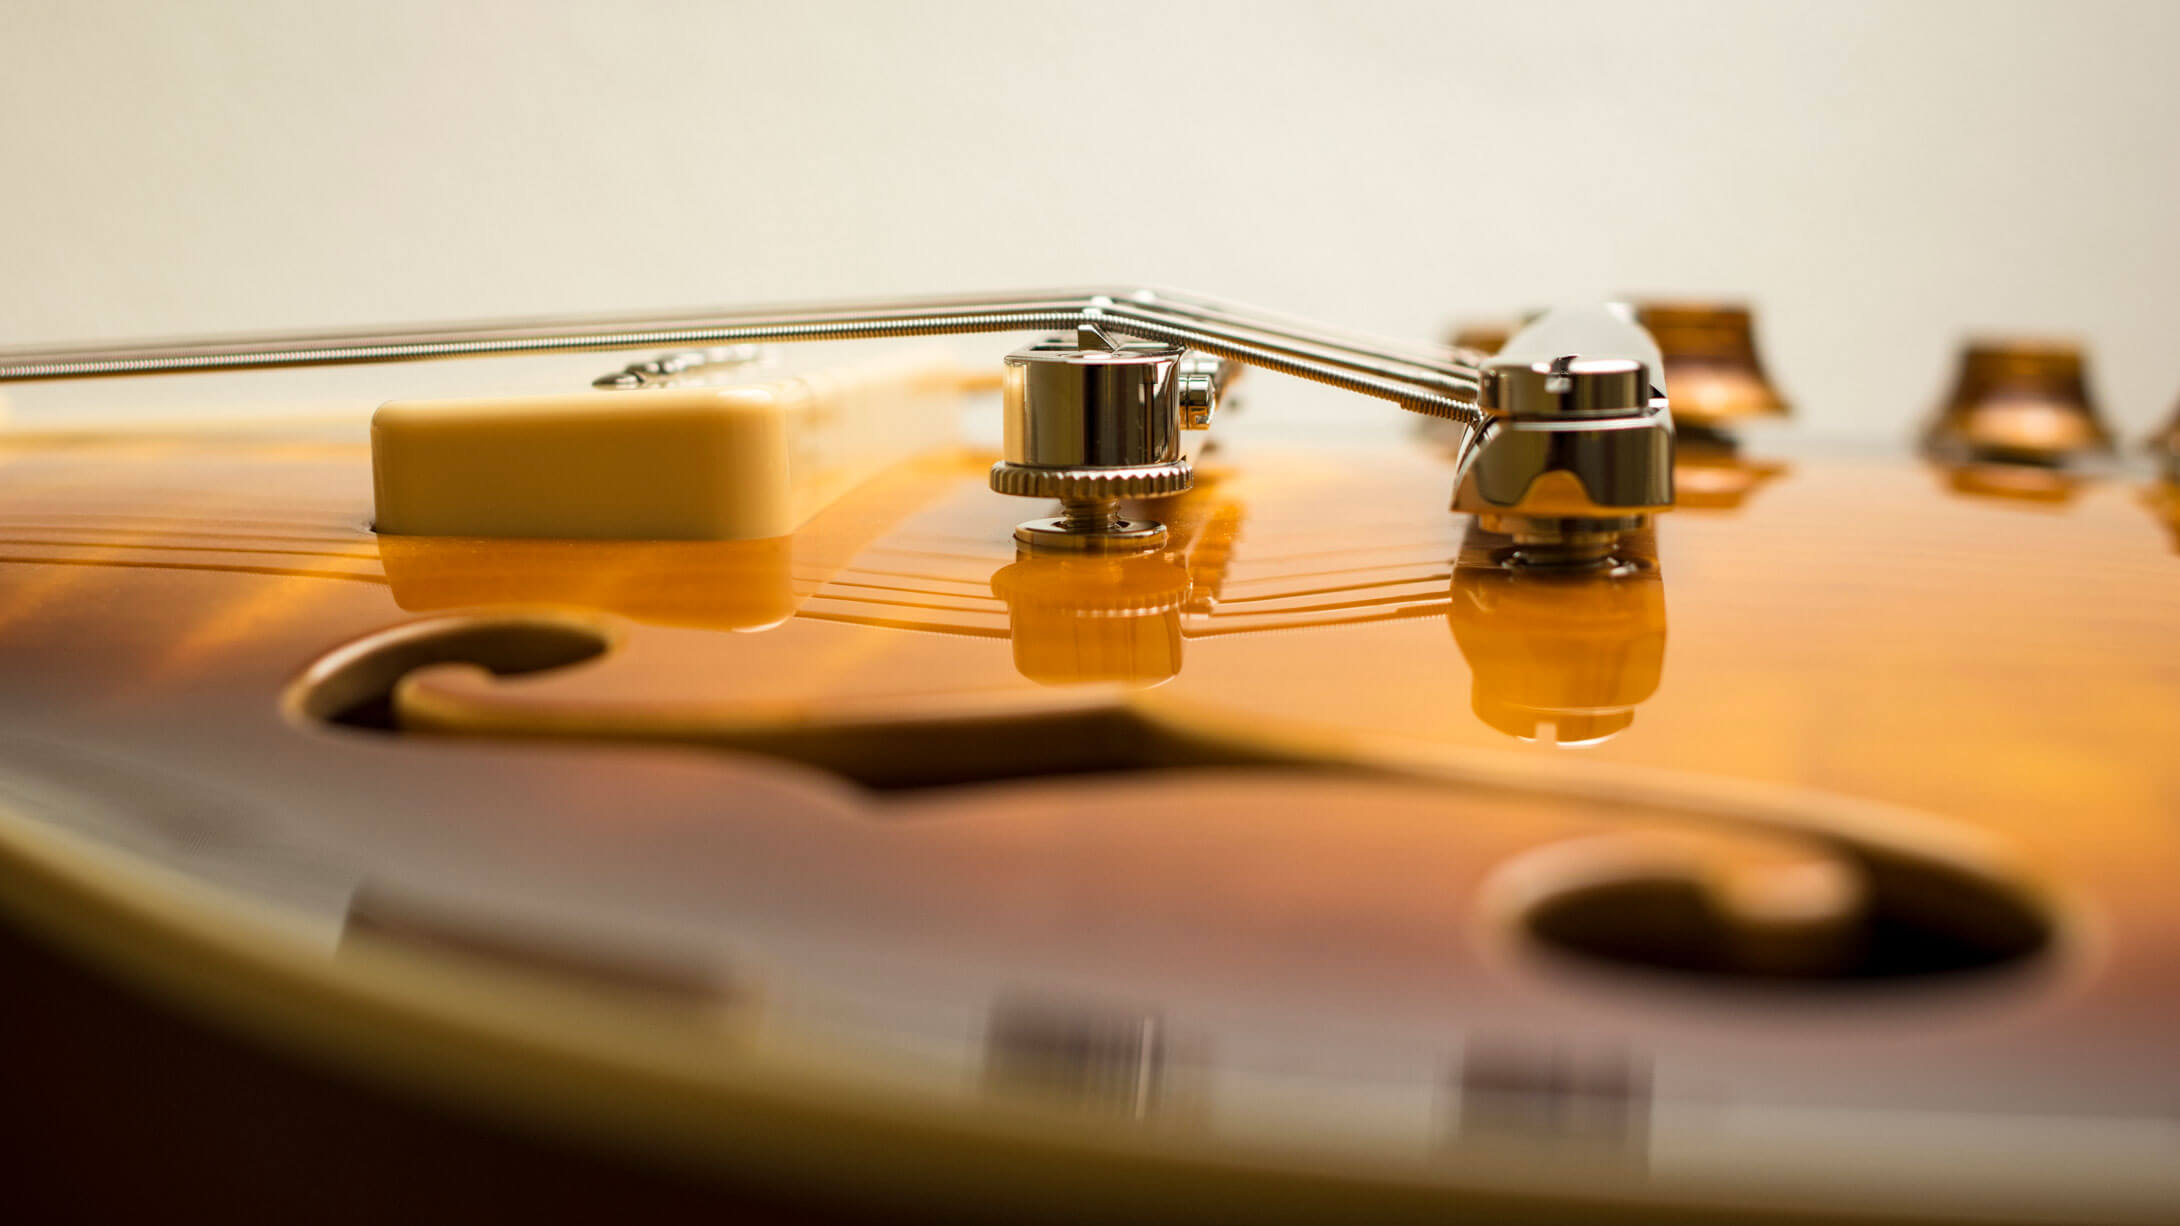
One aspect that many players seem to be confused about is the height adjustment of the stop tailpiece. The most common myth is that the tailpiece must be screwed all the way down. Otherwise the sustain of the guitar will be compromised.
The stop tailpiece is adjustable, too
Another popular belief is that the best sound comes from installing the strings to the tailpiece in a “top wrap style”. Jimmy Page used to do like this in order to make the string angle more gradual – which helps not break strings and to stay in tune.
Well, guess what? Jimmy (or his technician) was correct in setting the angle more gradual. But he could’ve as well just raised the tailpiece higher. I mean… it is adjustable. A difference in tone, you say? Do a blindfold A/B test. We did. Can’t spot any unambiguous difference.
Jimmy Page did it!
If you adjust the tailpiece too high, the pressure at the bridge will be too weak. If you adjust it too low, the angle will be too steep and your strings will bottom out at the back edge of the bridge. This adds one more friction point to the strings (bad for tuning stability) – and you’ll be breaking more strings.
The strings pull the tailpiece forward with about 60 kg force (with 10-46 gauge strings). That is enough pressure to make the tailpiece construction rock solid without any lock screws or other snake oil upgrades.
With this force pulling the tailpiece forward, it’s meaningless if the tailpiece studs are screwed all the way down or adjusted high enough to clear the strings from the bridge edge. They’re solid either way! So I would simply adjust the tailpiece as it was meant to be adjusted. The only sensible reason to screw the studs down and top wrap the strings over the tailpiece is that Jimmy Page did it like that! I can buy that. I’m a big fan. Hats off to Jimmy.
DOES BIGSBY AFFECT TO THE SOUND OF MY GUITAR?
Let’s face it – Bigsby looks super cool
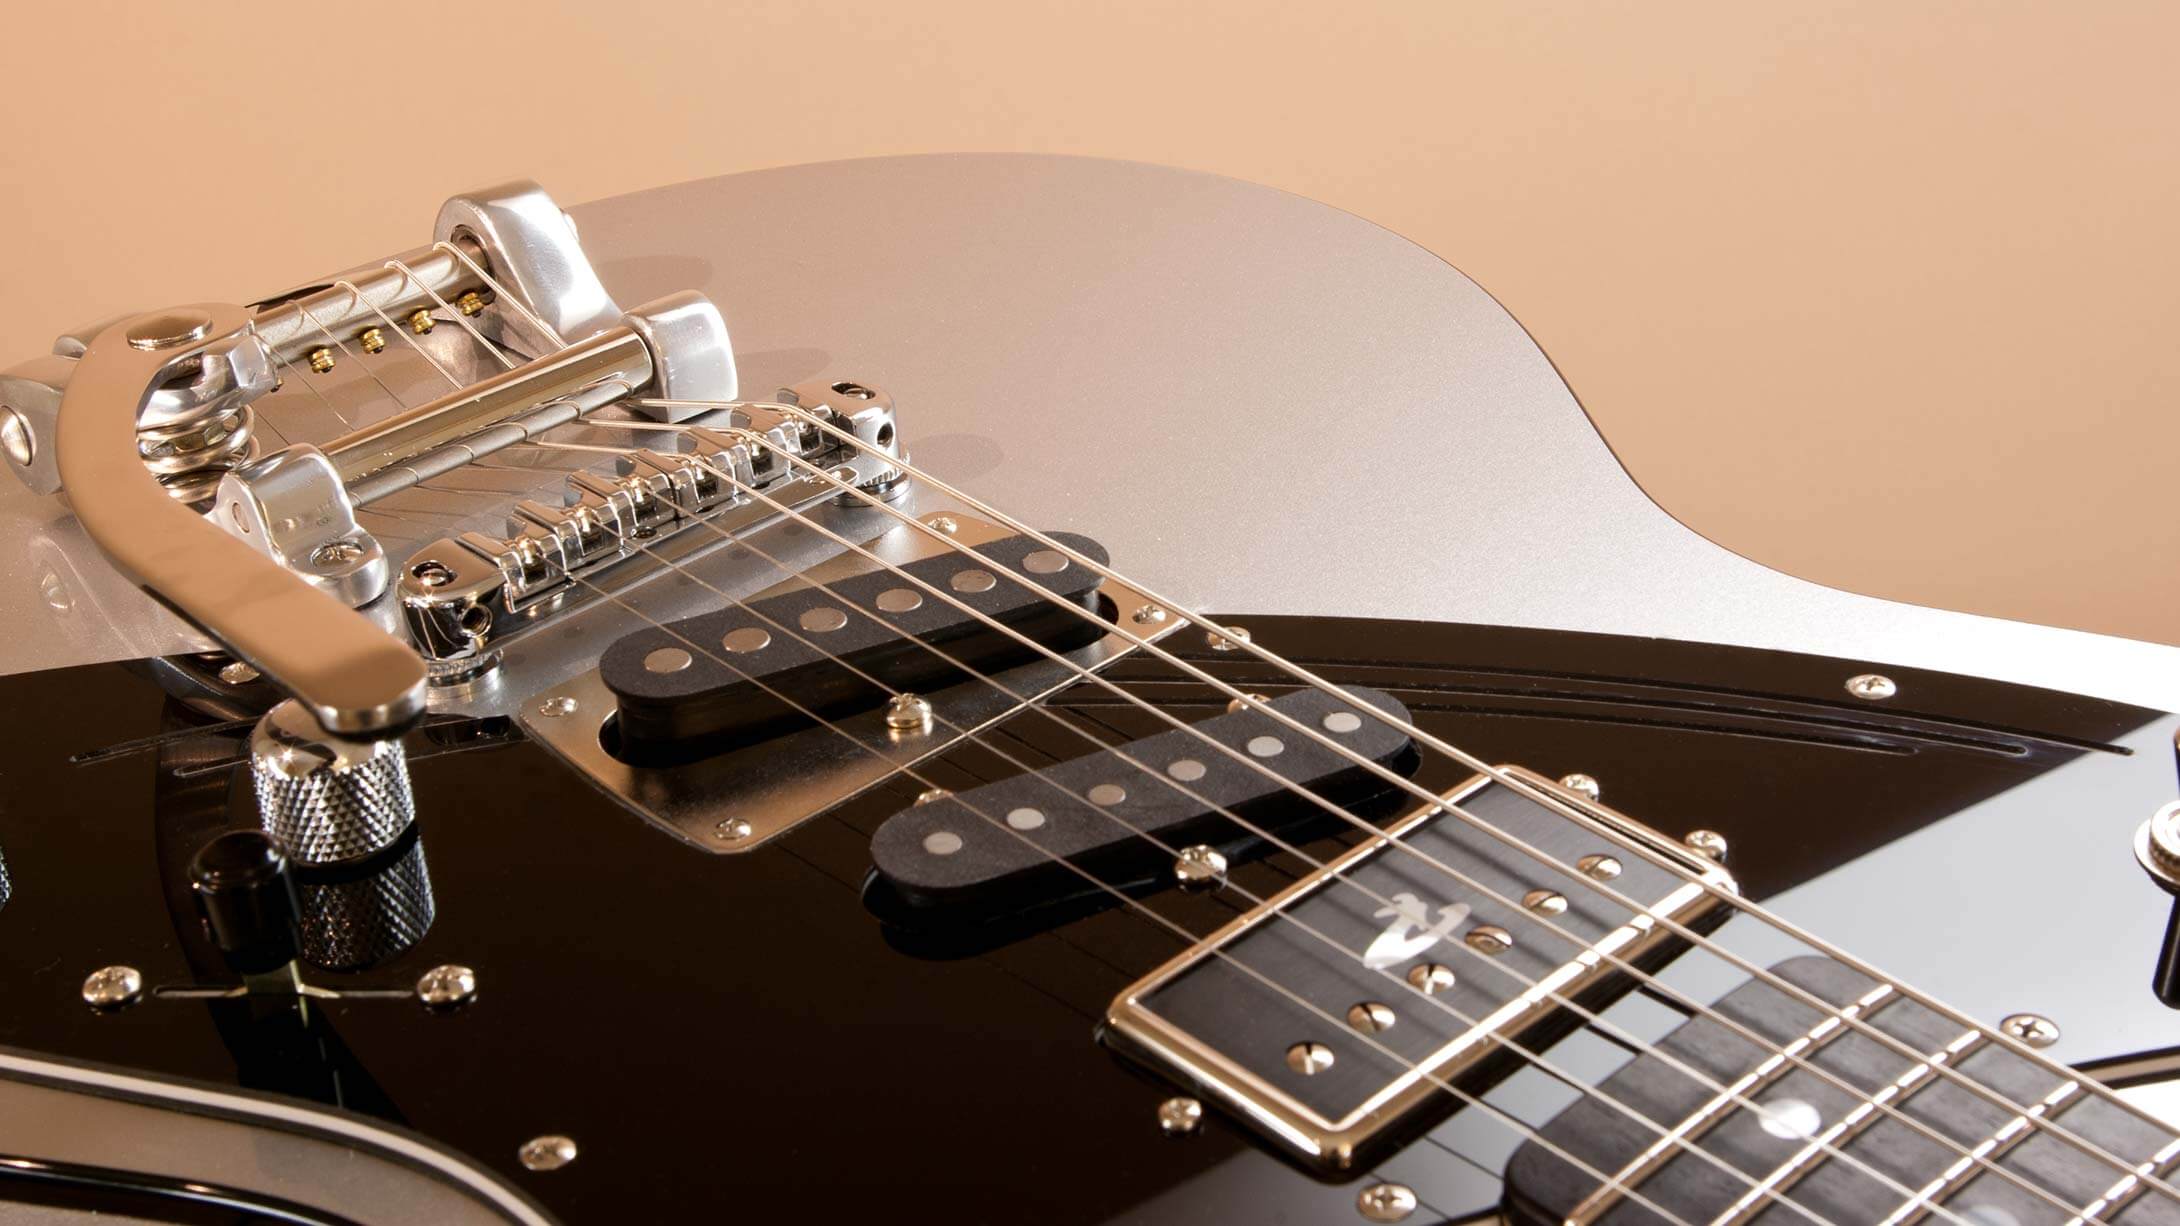
One of the most frequently asked questions I get is this: “Does Bigsby affect to the sound of my guitar?”. The answer is: “Yes – it affects the sound and the feel of the guitar a lot”.
There’s no way around it – Bigsby is super cool. It looks awesome in the same way as old American cars and motorbikes do. For some, this is the primary reason why they want Bigsby in their guitar. And it’s perfectly ok! I can understand that. In rock music, the appearances matter a great deal.
Worth the trade-off?
Truth be said, other than the looks, Bigsby can be a challenging piece of equipment. When thought out and set up well, it will stay in tune reasonably well and you won’t lose much of the full potential of your guitar sound with it.
See, the tune-o-matic style bridge with stop tailpiece is a kind of combo that really gives you the maximum potential of that particular guitar tone. When you replace the stop tailpiece with a Bigsby, the construction changes.
It is inevitable that some of that solidity of sound will be gone. In exchange you get the vibrato and a slightly different sounding guitar. Once again – there is no right or wrong here – it is all about personal preference. And don’t get me wrong – I love old American cars and motorbikes too!
THE LOW FREQUENCIES OF A BASS GUITAR
Bass guitars vibrate a lot!
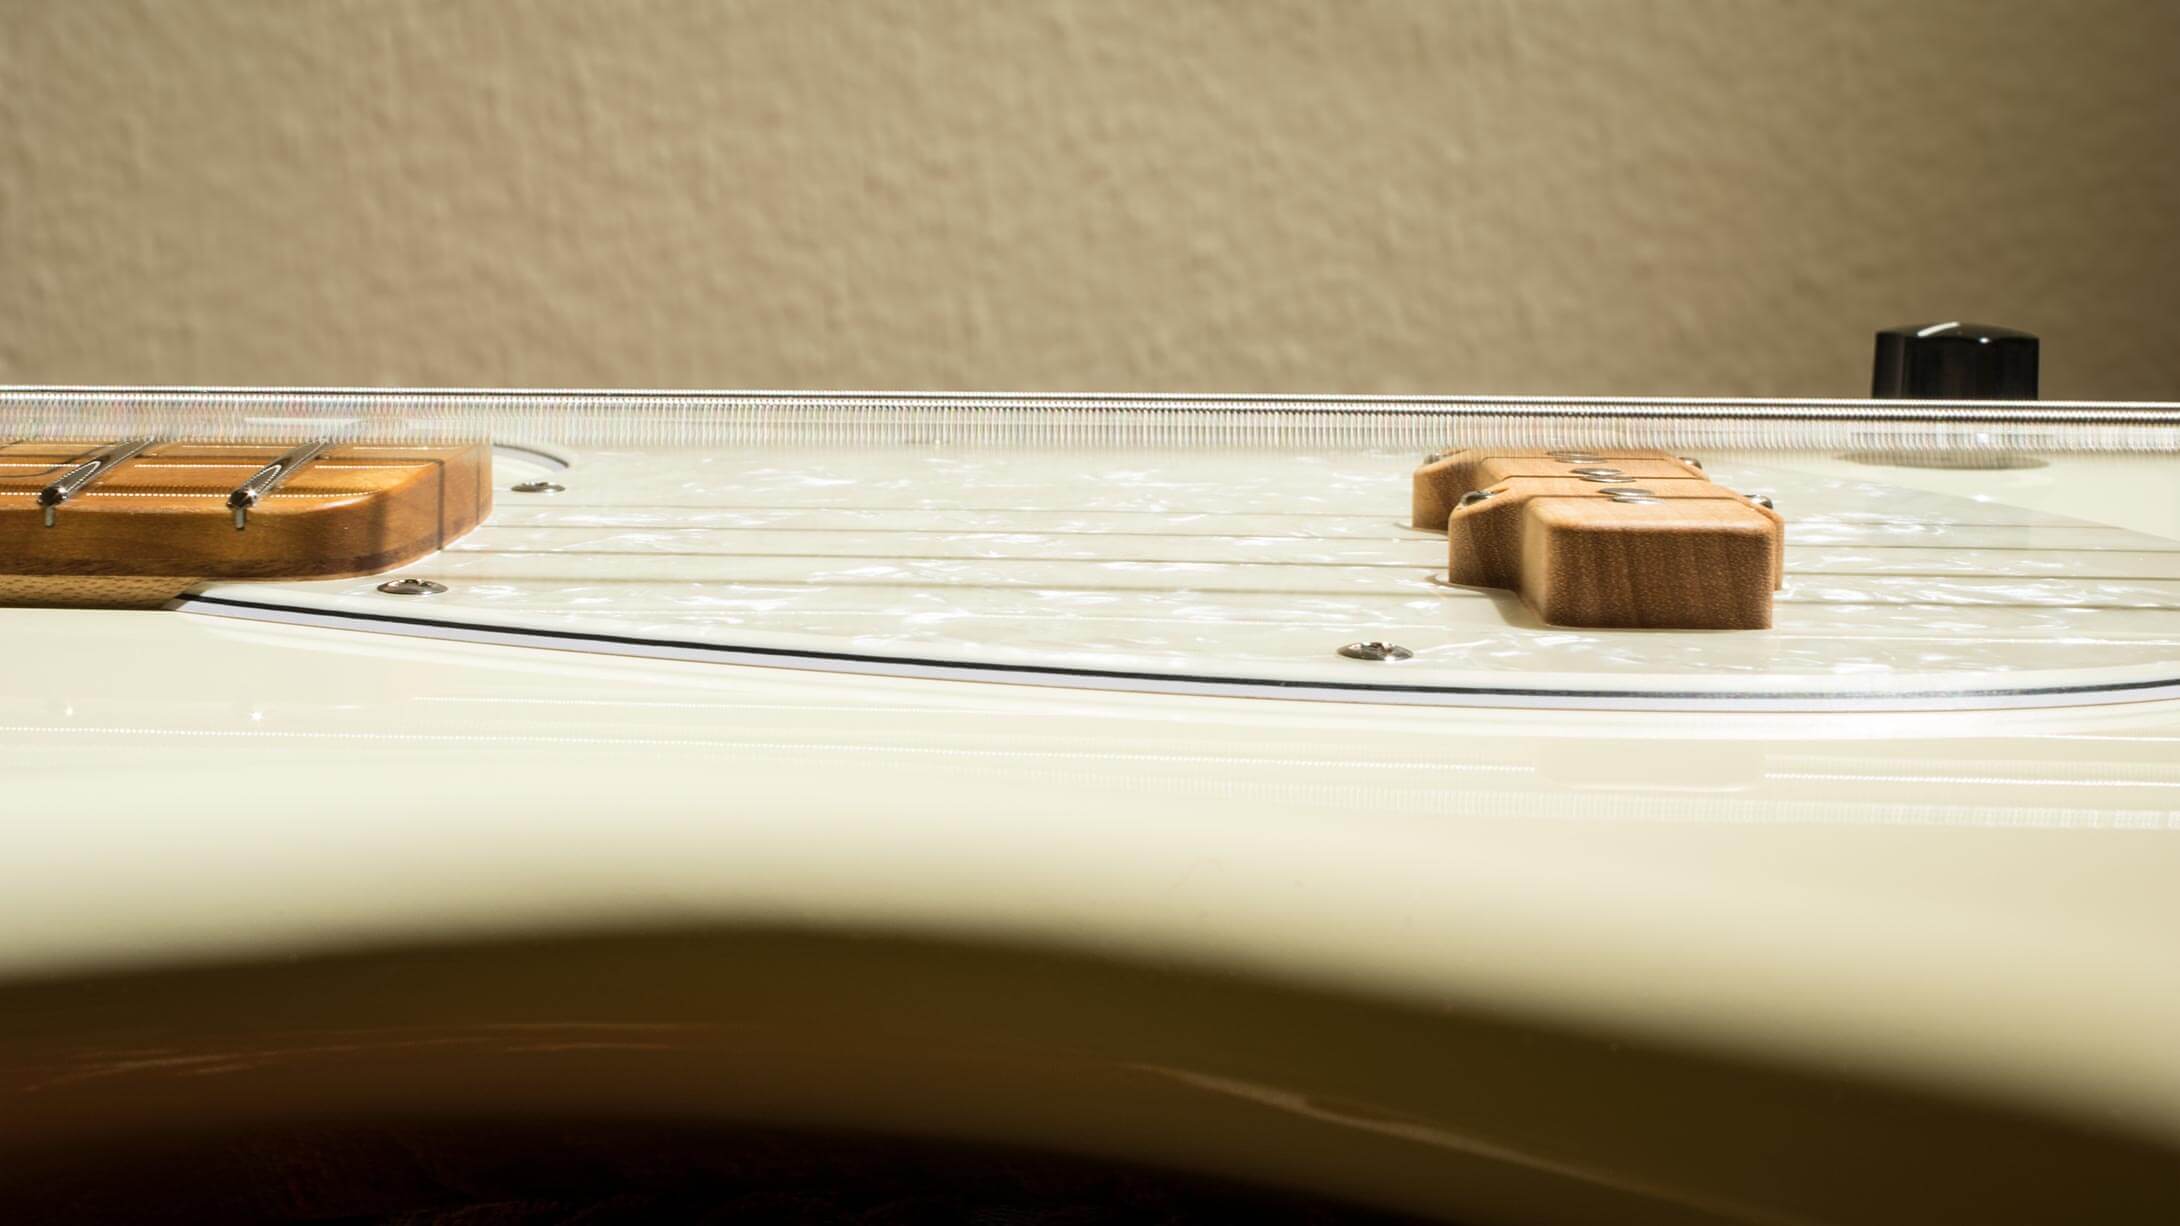
The low frequencies make a bass guitar vibrate a lot. This vibration needs to be kept under wraps. Otherwise there would be a lot of fret buzz and tuning problems – even trouble keeping the instrument in one piece!
It’s like the old Harley Davidson bikes: The engine is bolted right onto the frame of the bike without suspension of any kind. The motor shakes the whole bike so much that one would think a magnetic rear fender should be an obligatory feature to collect all the fallen parts! Cool bikes, none the less.
Energy transference from strings to body
After a little sidestep, back to bass bridges! It is essential in any musical instrument, that the energy of the strings is not “wasted” in wrong type of vibration – but in a bass guitar this is even more serious business.
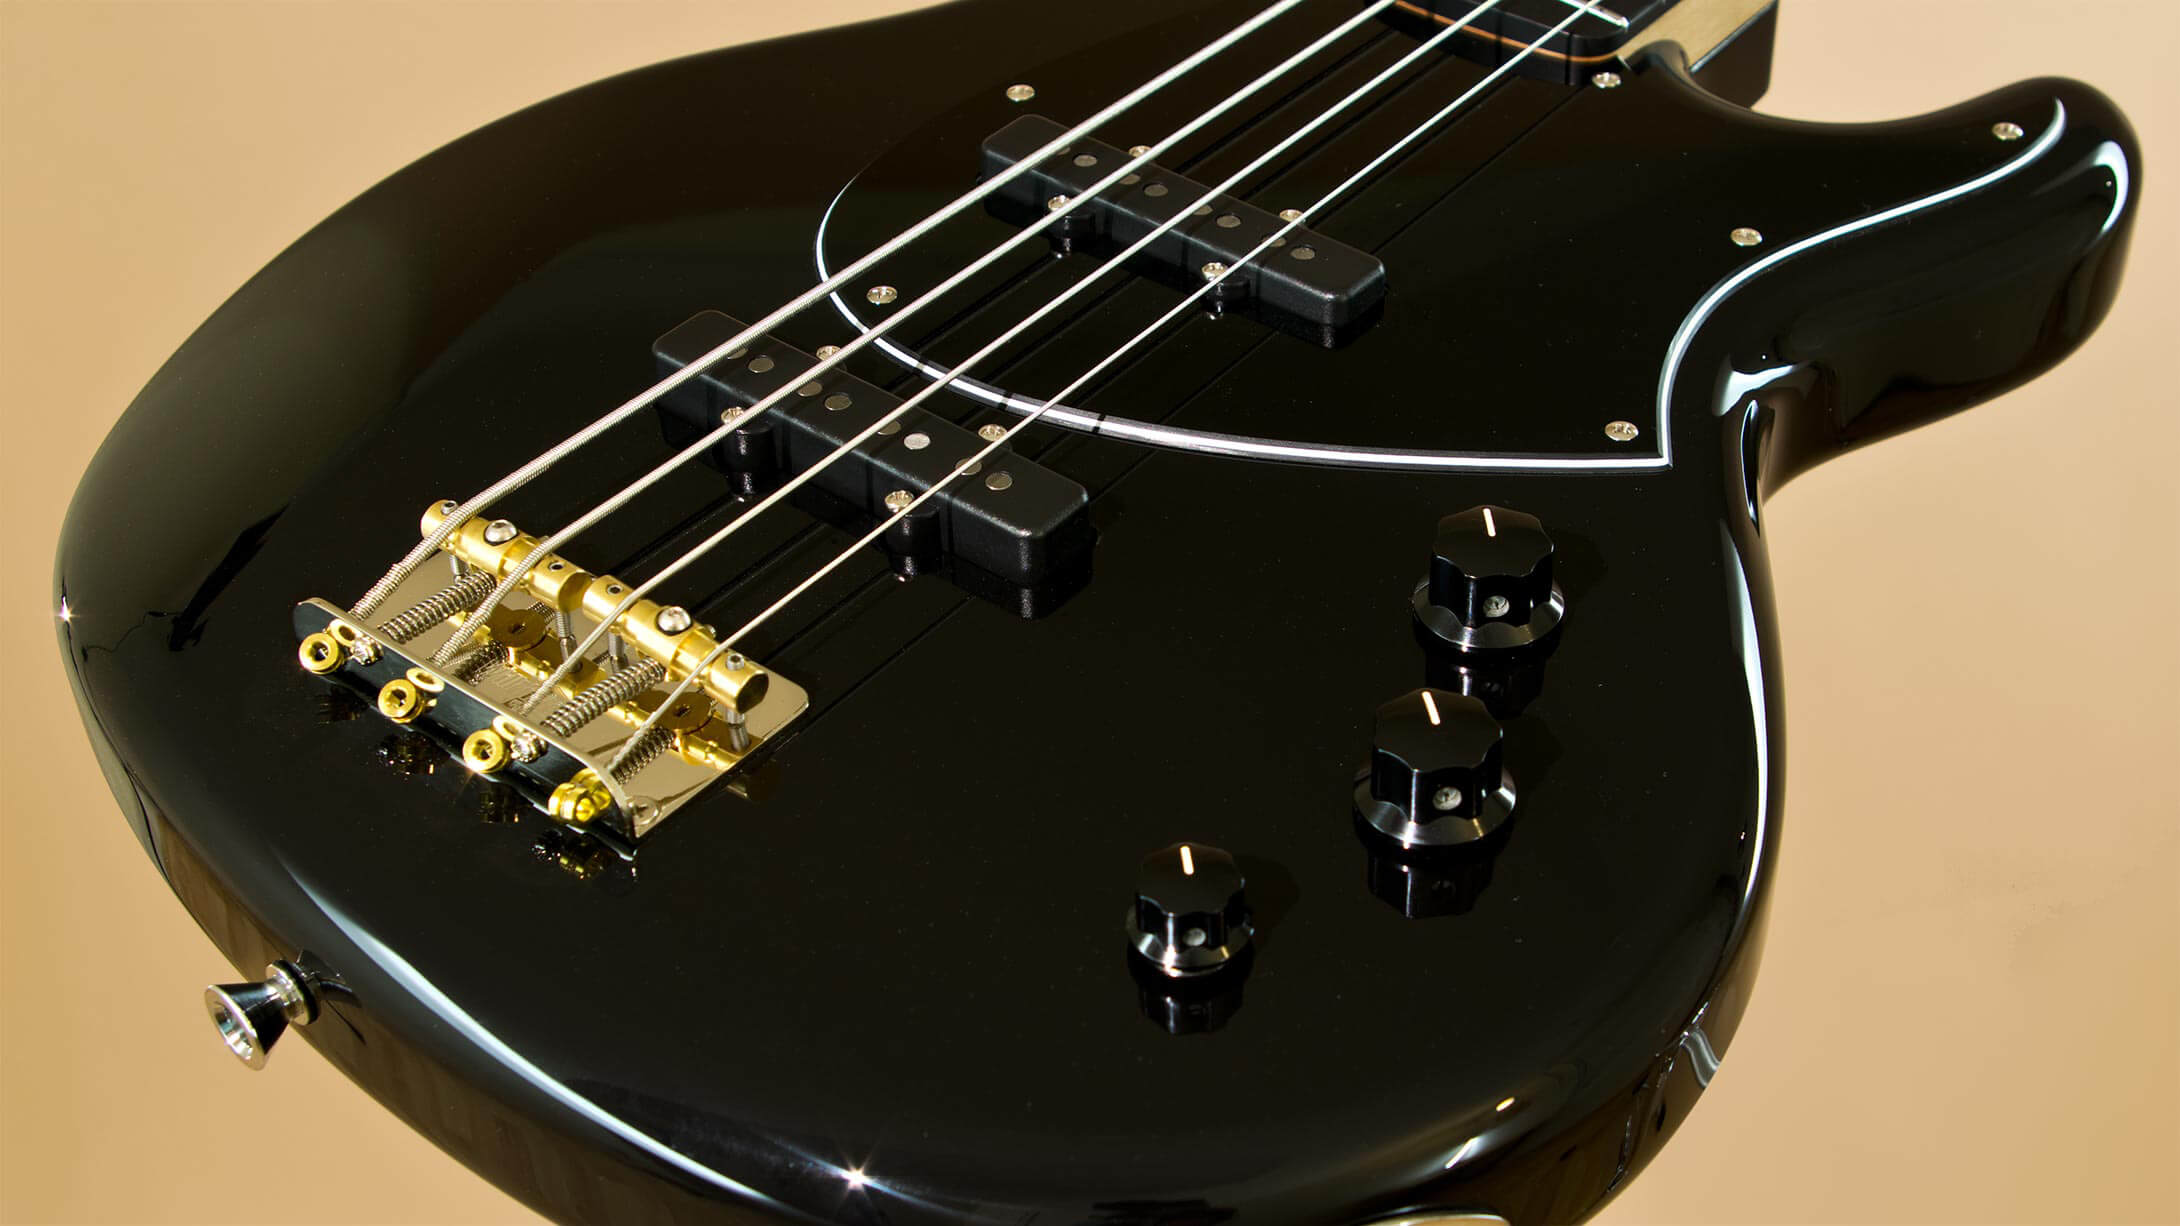
When I went shopping for the ideal bridge for my Steam bass, my main priority was to find a bridge that is capable of transferring as much vibrations as possible from the strings to the body of the instrument.
Contrary to common beliefs, heavy mass is not the solution. If the bridge is too massive, it may be solid all right, but it doesn’t transfer the sound to the body. The musically inspiring and responsive solutions are not typically the most heavyweight and sturdy ones.
Sensitivity versus durability
If one seeks sensitivity, the same laws apply to any musical instrument. A great classical guitar top and bracing, for example, are made so delicate that they just about hold together without collapsing. The result is a sensitive guitar – and the skill of the luthier determines how well can he/she find the optimal balance between musicality and durability.
The perfect electric bass bridge?
I was working closely together with my friend Markus Setzer on my bass design. I listened carefully to his experiences and analysis on what makes a great, transparent sounding bass. Our talk shifted from tonewood through pickups to hardware.
Then it dawned to me – the vintage t-style bridge design philosophy might offer us a solution for the perfect bass bridge. I just had to find a simple, lightweight bridge in which each saddle would be shared by two strings. This way the pressure of the strings would be massive, eliminating the possibility that the bridge parts would start moving around with the low frequency vibration. Instead, the vibrations would transmit better from the strings to the body.
I was certain we have to make such a bridge ourselves, but to my great relief and amazement I found the Gotoh WB2P, designed by none other than Trev Wilkinson. Our paths had crossed before and so they did again.
Adapted from guitars to basses
This particular bridge has the exact features I had listed earlier: 1) Lightweight construction. 2) Each saddle shared by two strings. 3) Precise intonation adjusting possibility. Trev had solved the intonation problem by adapting the swivelling axis design from his WT3 bridge to his bass bridge design. Ingenious!
Too unconventional for most
At the time of its launch, this bridge was perhaps too unconventional for most. Maybe the bass makers didn’t realise how great it was. Whatever the reason, Gotoh discontinued the product soon after its launch.
But I’m the obstinate type. I went to Gotoh and asked if they would be willing to make the part for me. They did, as long as I would buy enough so it made sense to them. And so we have ended up at this point of time as the exclusive bass maker using the WB2P bridge – even if Trev Wilkinson didn’t perhaps plan it that way!